I've personally been using VMware since its early days. I was there, when the first virtualization migrations happened, switching from physical servers to virtual servers. What a mind-blowing experience.
Fast forward 20 years, we barely see any physical servers anymore. Even on your own laptop or workstation you probably run some kind of virtualization software. Since I definitely switched my workstation OS from Windows 7 to Linux, I kept a Windows VM, just in case I wanted to use a Windows specific program or game. For this purpose I used VMware Workstation Player. A lightweight version of VMware Workstation, simply doing its job. And I was completely fine with it.
But two things changed in recent years:
- Broadcom acquired VMware and immediately removed free versions. Although a few months later Broadcom reverted some of the decisions, this still stuck in my head. VMware Workstation Player continued to run though.
- I became aware of the Virtual Machine Manager GUI (virt-manager) on Linux, which uses libvirt in the background. I've personally known libvirt and created many KVM/QEMU virtual machines on server infrastructures with it – but I haven't thought to use it on my own workstation, too.
Hence, this article is about migrating my Virtual Machines from VMware Workstation (Player) to libvirt's Virtual Machine Manager (aka virt-manager).
Installation of Virtual Machine Manager (and libvirt)
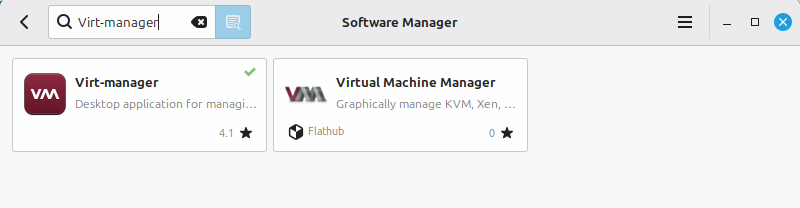
If you use Debian, Ubuntu or Linux Mint, you can install the virt-manager package. In Linux Mint you can select the virt-manager package from the Software Manager.
If you prefer the command line, you can use apt to install the relevant packages.
ck@mint ~ $ sudo apt-get install virt-manager qemu-utils ovmf On Enterprise Linux compatible distributions, such as AlmaLinux or Rocky Linux, you can use dnf to install the virt-manager package:
ck@rocky9 ~ $ sudo dnf install virt-manager qemu-img edk2-ovmfVMDK to QCOW2
VMware, whether vSphere (ESXi) or Workstation, uses the VMDK virtual disk format in the background. To use a VMDK virtual disk in another virtualization software, such as libvirt's Virtual Machine Manager, you should convert VMDK to QCOW2 or another supported virtual disk format.
Once you have installed the packages above, the qemu-img command should be available to you in the Terminal. With this command you can convert the existing VMDK virtual disk(s) to QCOW2:
ck@mint ~ $ qemu-img convert -f vmdk -O qcow2 'Windows10/Windows 10 x64.vmdk' windows10.qcow2Create new Virtual Machine
Now that you have the virtual disk (windows10.qcow2 in this situation), you can create a new virtual machine which will use the virtual disk.
In the Virtual Machine Manager click on File -> New Virtual Machine. In Step 1, select "Import existing disk image". Choose an existing storage path to point to your qcow2 virtual disk, you just created before.


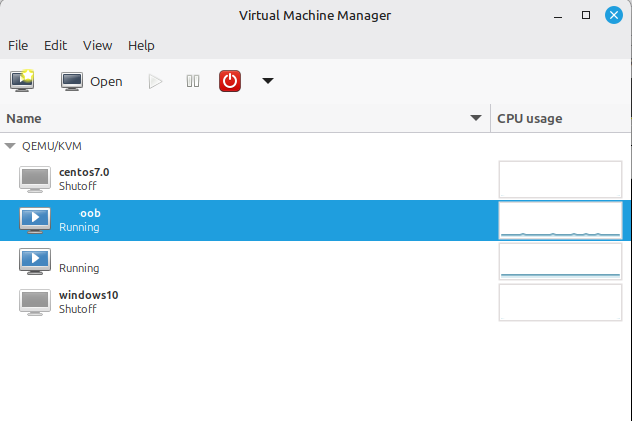
The new VM now shows up in the overview of the Virtual Machine Manager. You can start the virtual machine with a click on the "Play" button and then open the Console with the "Open" button.
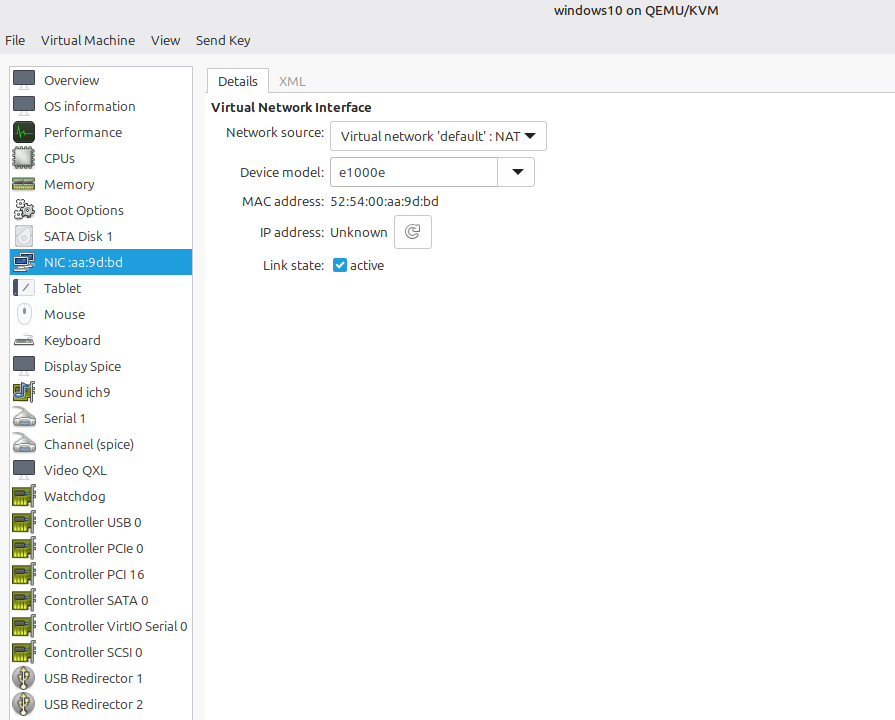
To see the settings of the virtual machine, you have to open the VM, then in the top menu click on View -> Details. This gives you all the details and setting possibilities of your virtual machine.
My Windows VM is not booting
If you run into problems with your migrated Windows VM, it might be due to a missing UEFI firmware. If you have set up a Windows 10 or Windows 11 virtual machine on VMware Workstation, it uses the UEFI boot mode by default.
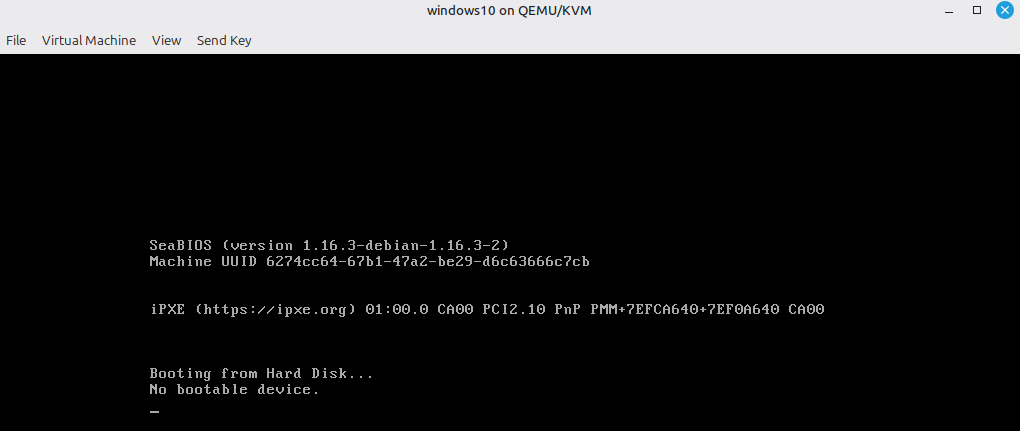
However this new Virtual Machine, created with libvirt's Virt-Manager, wants to boot in BIOS mode. This can be verified in the Virtual Machine Settings, in the Overview. The Firmware value tells you whether this VM uses BIOS (default in virt-manager) or another Firmware type.

In order to have the same boot situation as in VMware Workstation (Player), you need to switch the Virtual Machine from BIOS to UEFI. Luckily a virtual "UEFI image" is ready to be used.
If you have installed the packages as mentioned above, you should also have installed the OVMF files. These are basically predefined UEFI images, you can use for your virtual machines. After the package installation, you can find these files under the path /usr/share/OVMF (on Debian and Ubuntu based distributions).
Copy such an image and place it under the libvirt's nvram directory:
ck@mint ~ $ sudo cp /usr/share/ovmf/OVMF.fd /var/lib/libvirt/qemu/nvram/windows10_VARS.fdNow you need to tell the VM to use this UEFI file instead of using the BIOS firmware.
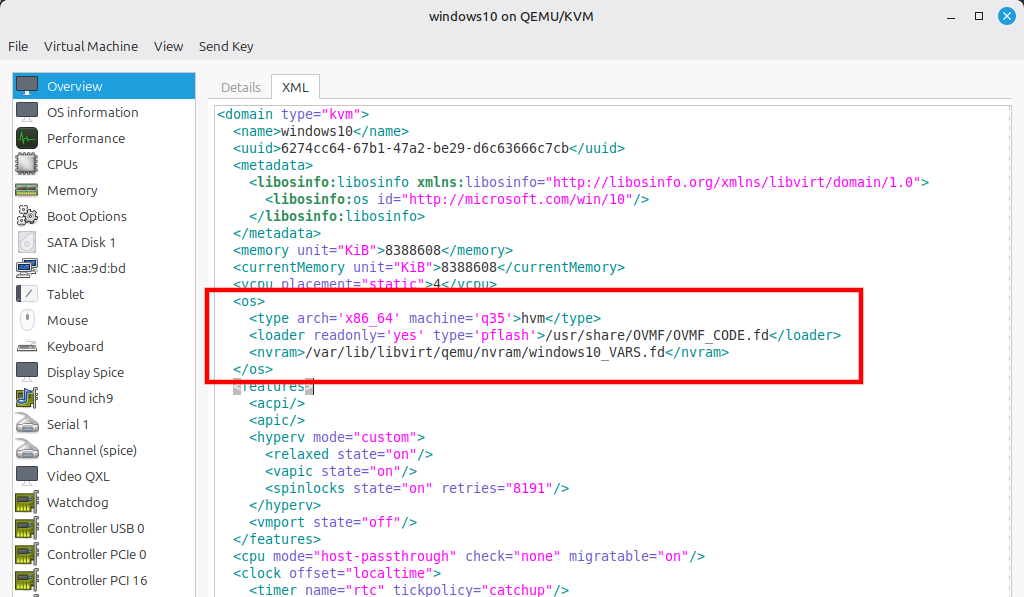
To do this, open the Virtual Machine's settings. In the "Overview" select the XML tab. This is where the whole Virtual Machine is defined in a big XML file.
Locate the <os>….</os> snippet, which defines the BIOS firmware.
  <os>
    <type arch="x86_64" machine="pc-q35-6.2">hvm</type>
    <boot dev="hd"/>
  </os>
Replace the whole <os>…</os> section with the following code:
  <os>
    <type arch="x86_64" machine="pc-q35-noble">hvm</type>
    <loader readonly="yes" type="pflash">/usr/share/ovmf/OVMF.fd</loader>
    <nvram template="/usr/share/ovmf/OVMF.fd">/var/lib/libvirt/qemu/nvram/windows10_VARS.fd</nvram>
    <boot dev="hd"/>
  </os>
Depending on your Linux distribution or the file name you used before (windows10_VARS.fd) you might have to adjust the paths.
At the end, the XML file looks something like this:
After saving the change, the Virtual Machine will now boot with UEFI firmware:
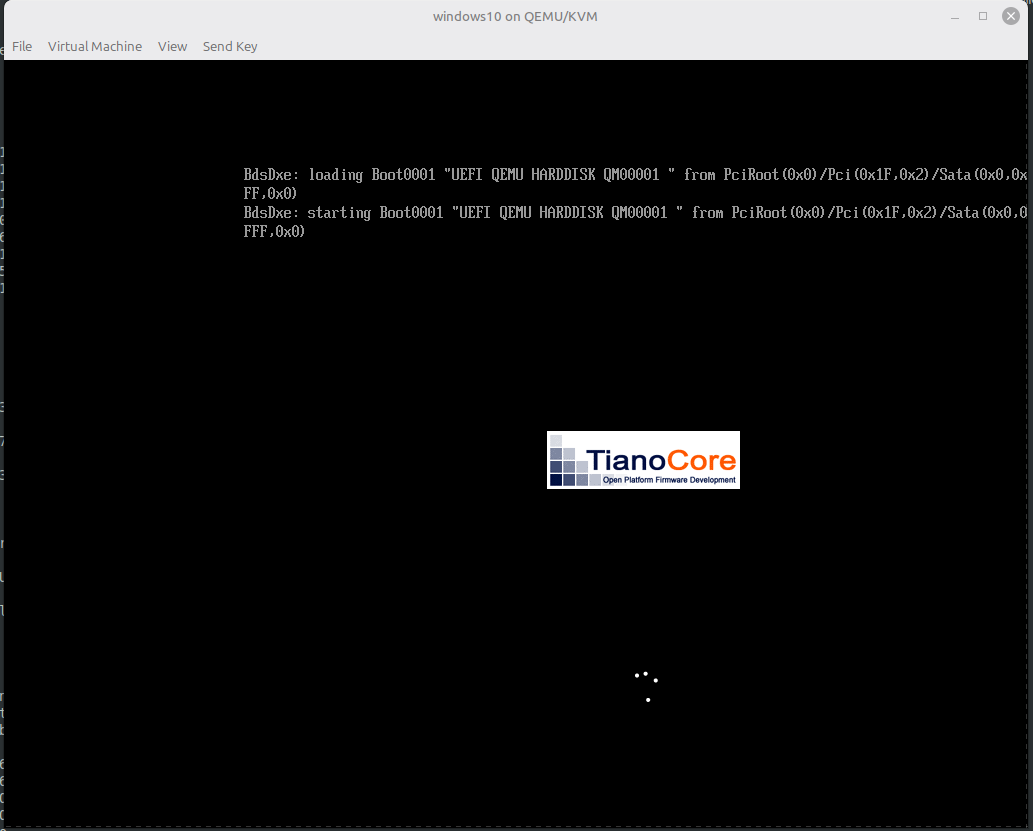
This detects the UEFI partition on the existing virtual disk and now boots Windows.
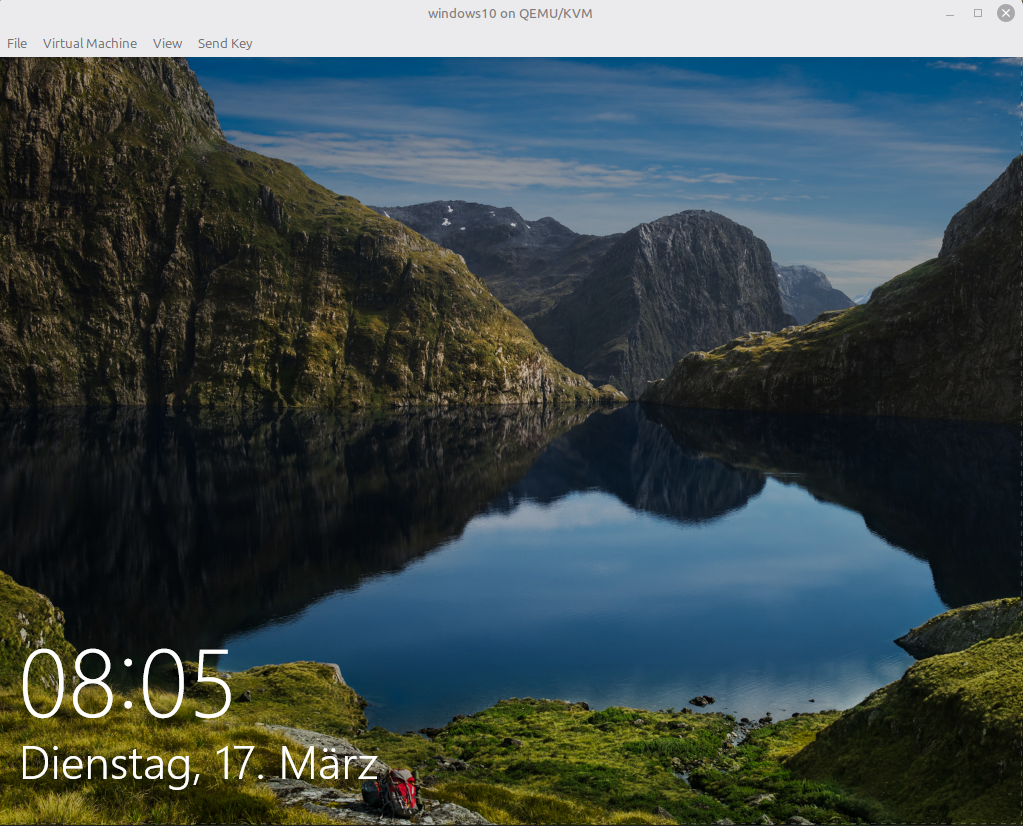
Congratulations! You have successfully migrated your Virtual Machine from VMware Workstation to libvirt's virt-manager!
Copy+Paste from and into the VM is not working!
Another problem could be, that you want to copy a text from your physical workstation and paste the text in the Windows VM. This doesn't work as the Windows VM is not aware what kind of drivers to use.
In VMware Workstation (and other VMware software) these drivers are usually installed through the vmware-tools (or alternatively in Linux open-vm-tools) package. Something similar needs to be done for Virt-Manager.
For Virt-Manager Virtual Machines you need the Spice Guest Tools. For a Windows VM, the Windows SPICE Guest Tools is what you need (direct download link). Download this inside your Virtual Machine and install the spice-guest-tools-latest.exe file.


When asked for installing the VirtIO Serial Driver, click on "Install". After the driver installation, Copy+Paste should work. In my case I didn't even had to reboot the Windows VM.


