Since yesterday, August 9th 2025, Debian 13 (Code name: Trixie) is officially released. If you're new to Debian or Linux in general, this step-by-step installation guide may help you.
- Download Installation Medium (ISO)
- Boot from installation media
- Regional/language settings
- Network / IP configuration
- Host and domain name
- Set up users and passwords
- Setting up the disk (partitioning)
- Installing the base system
- Package manager
- Additional packages after base setup
- GRUB bootloader
- Finish and reboot
Download Installation Medium (ISO)
On the Debian website, the Download is prominently on the home page. A click on the large Download icon and you download the so-called netinst ISO for AMD64 (x86_64) processors. This is a virtual CD image containing the most important packages, needed for the base installation. Additional packages are downloaded via Internet – hence the name netinst (Internet Install).

Under "Other Downloads" you can find different kinds of installation ISO, including other system architectures (risc64 for example).
If your machine won't have Internet access, you should opt for the DVD ISO, which contains much more packages and can be considered a (almost) complete installation.
Note: We have a related article where we show how to create a USB stick from the ISO file, in case you need to boot from a USB stick.
Boot from installation media
Once your physical or virtual machine has booted from the installation media, it's time to start the Debian Installer. You can choose between the Graphical Install (with mouse support), the text based Install (which I am using in the next steps) and the installer even supports an installation with help for the visually impaired (install with speech synthesis).
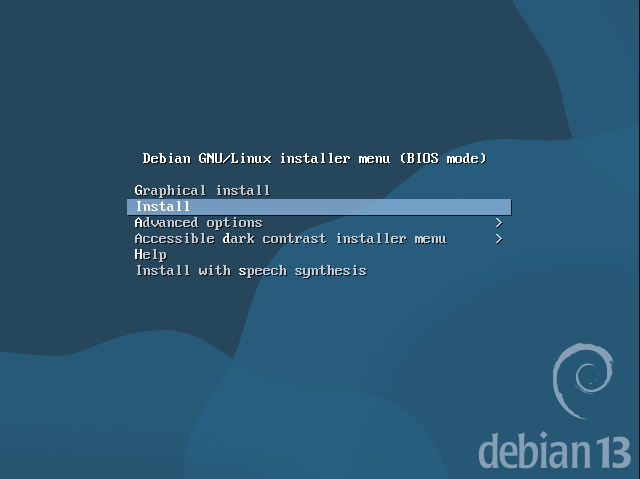
In the text installation menu use the arrow keys for navigation and the [ENTER] key for confirming the selection.
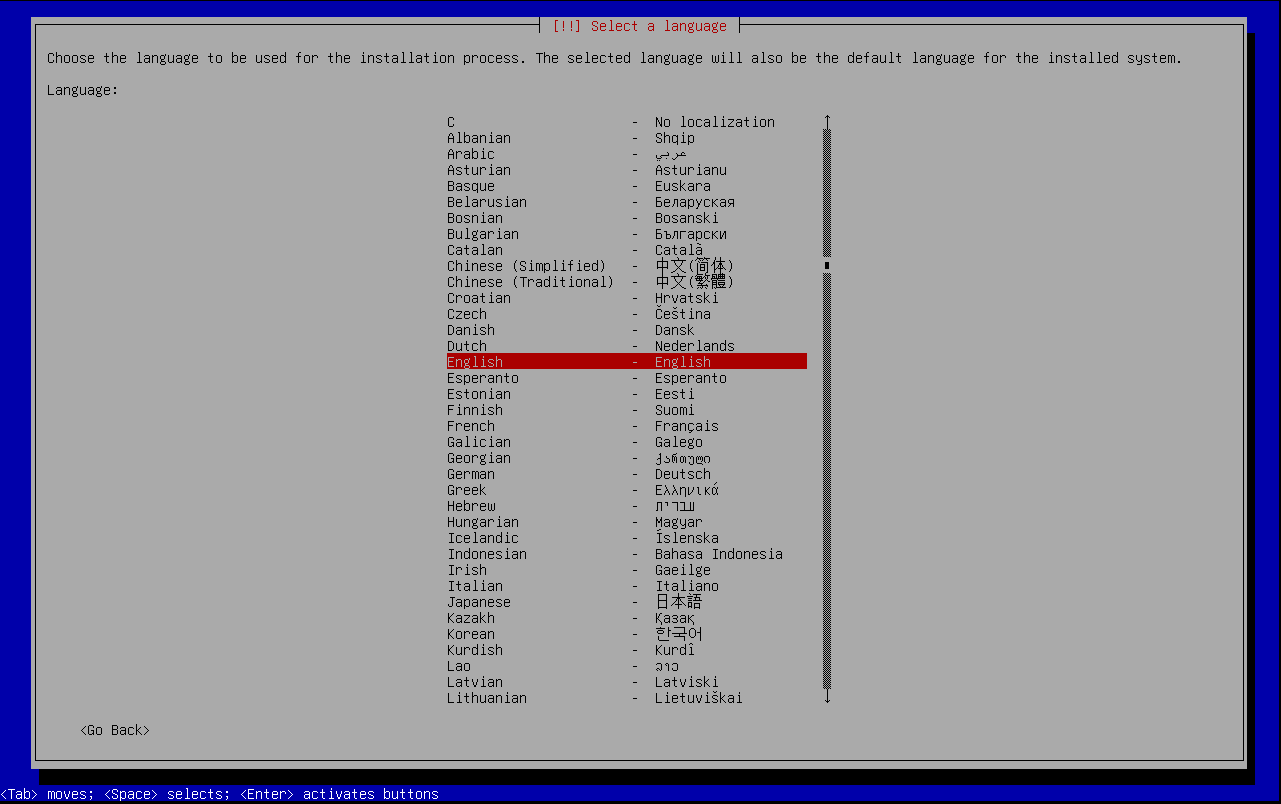
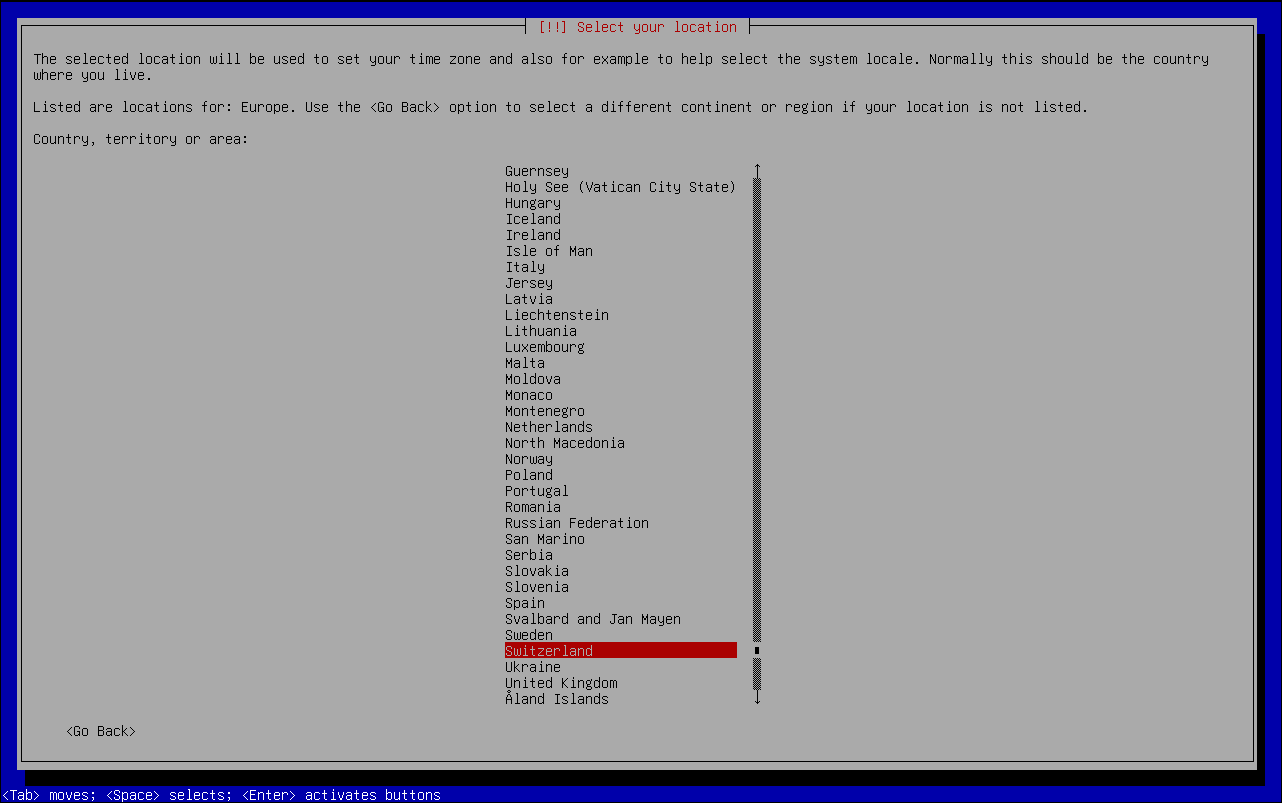
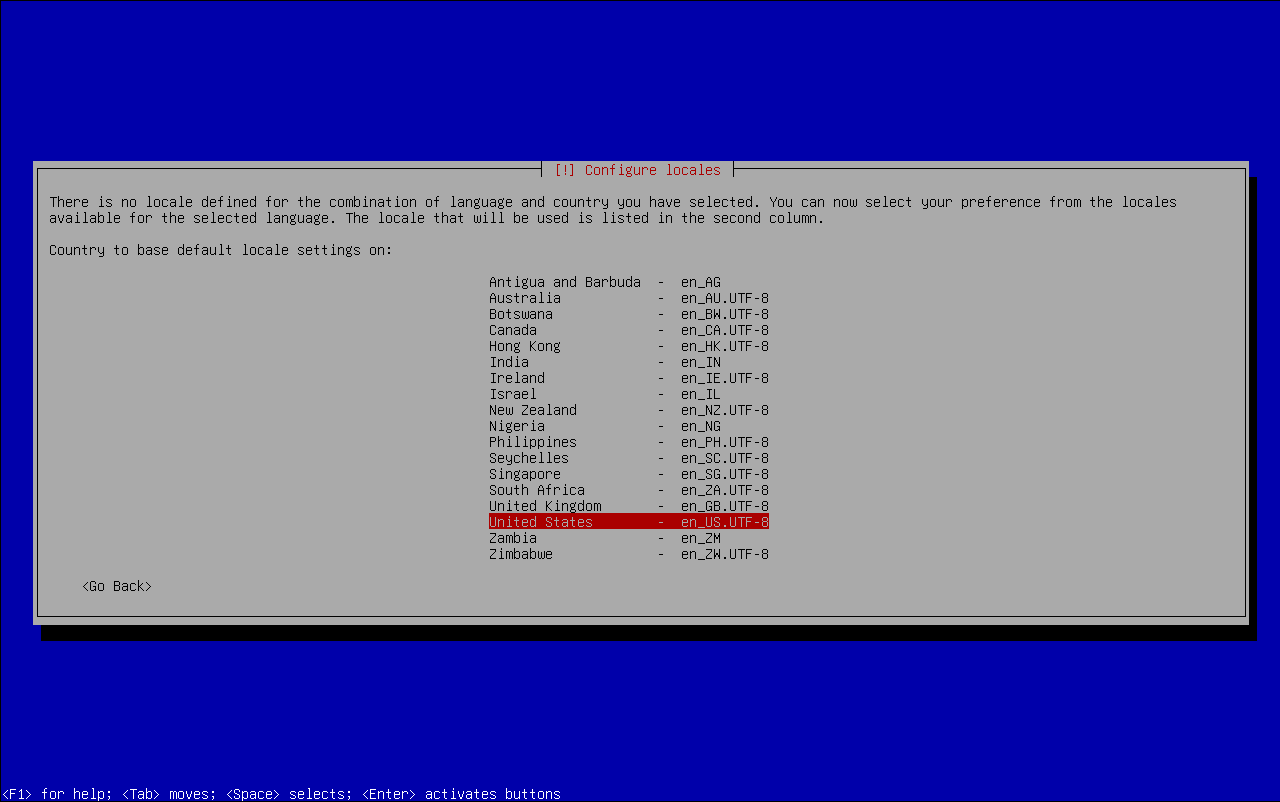
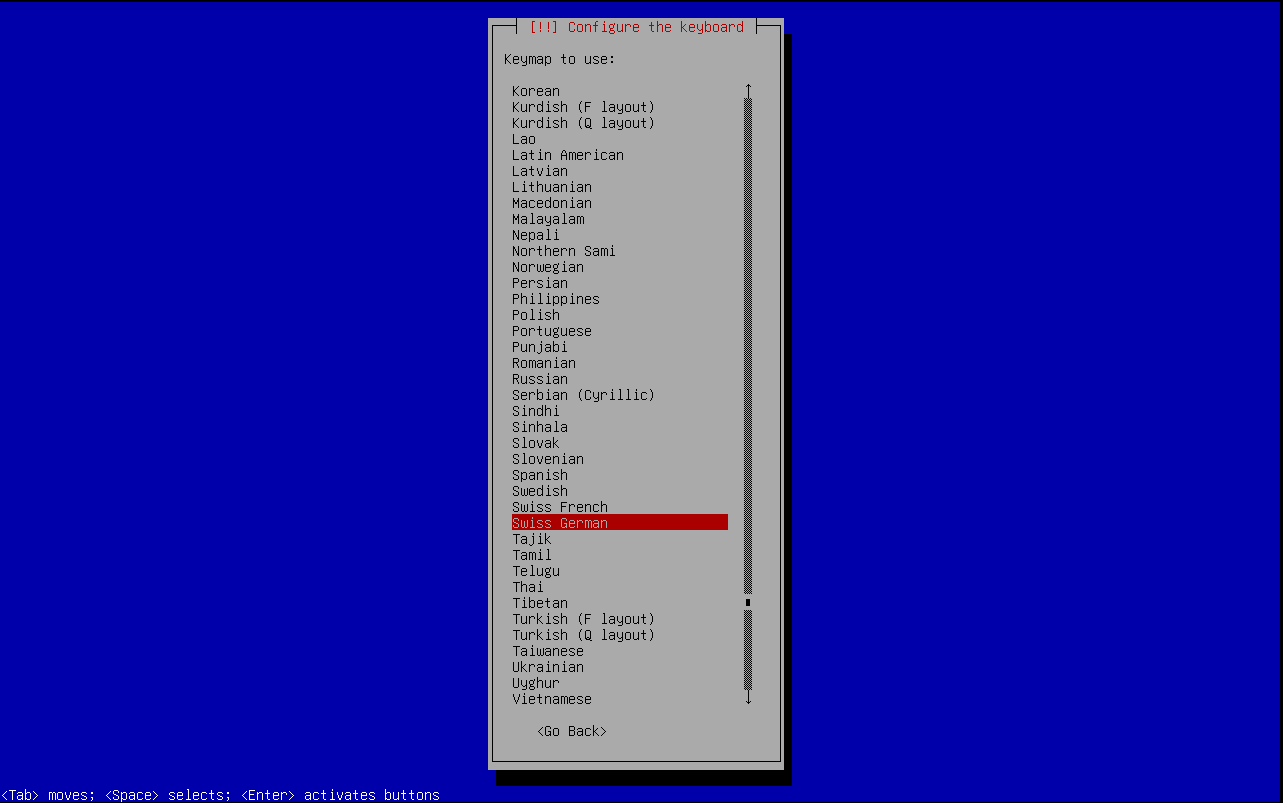
Regional/language settings
In the first few steps you need to select the system language, the system's physical location (country) and your keyboard layout.
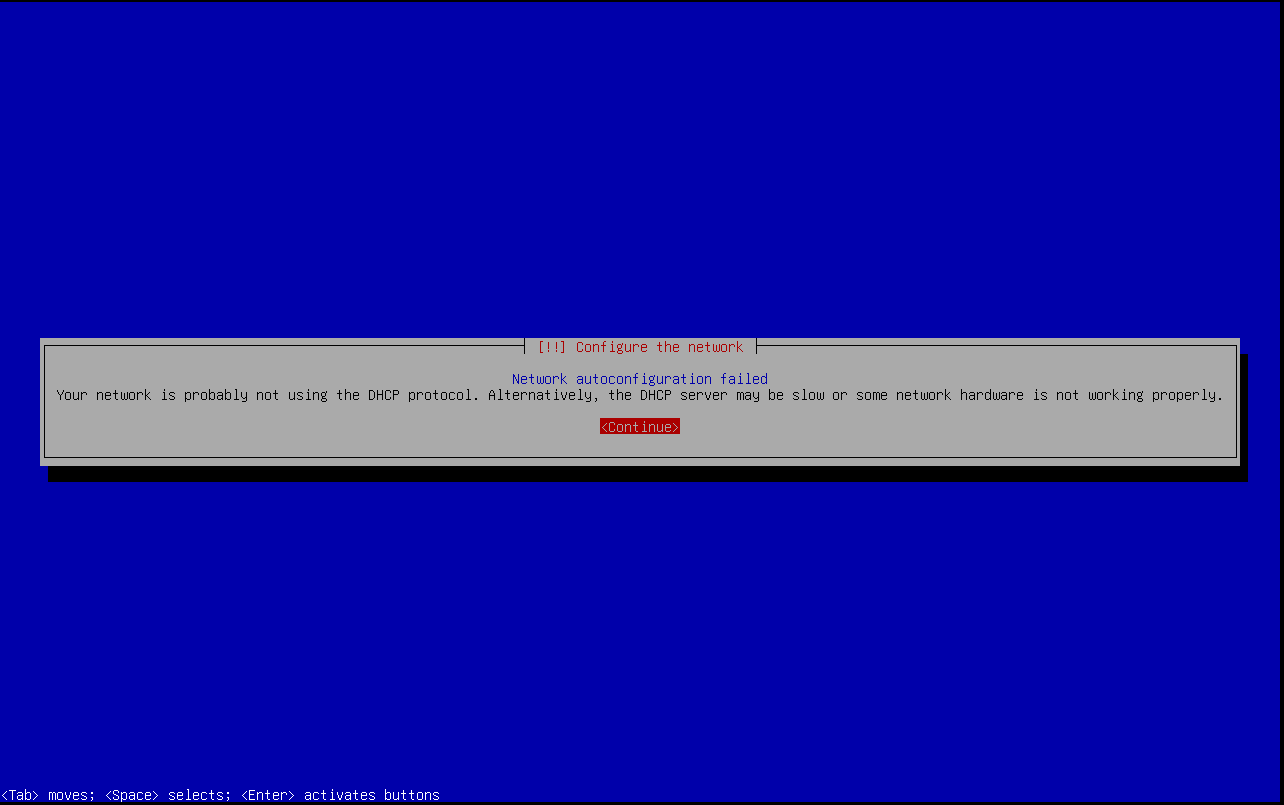
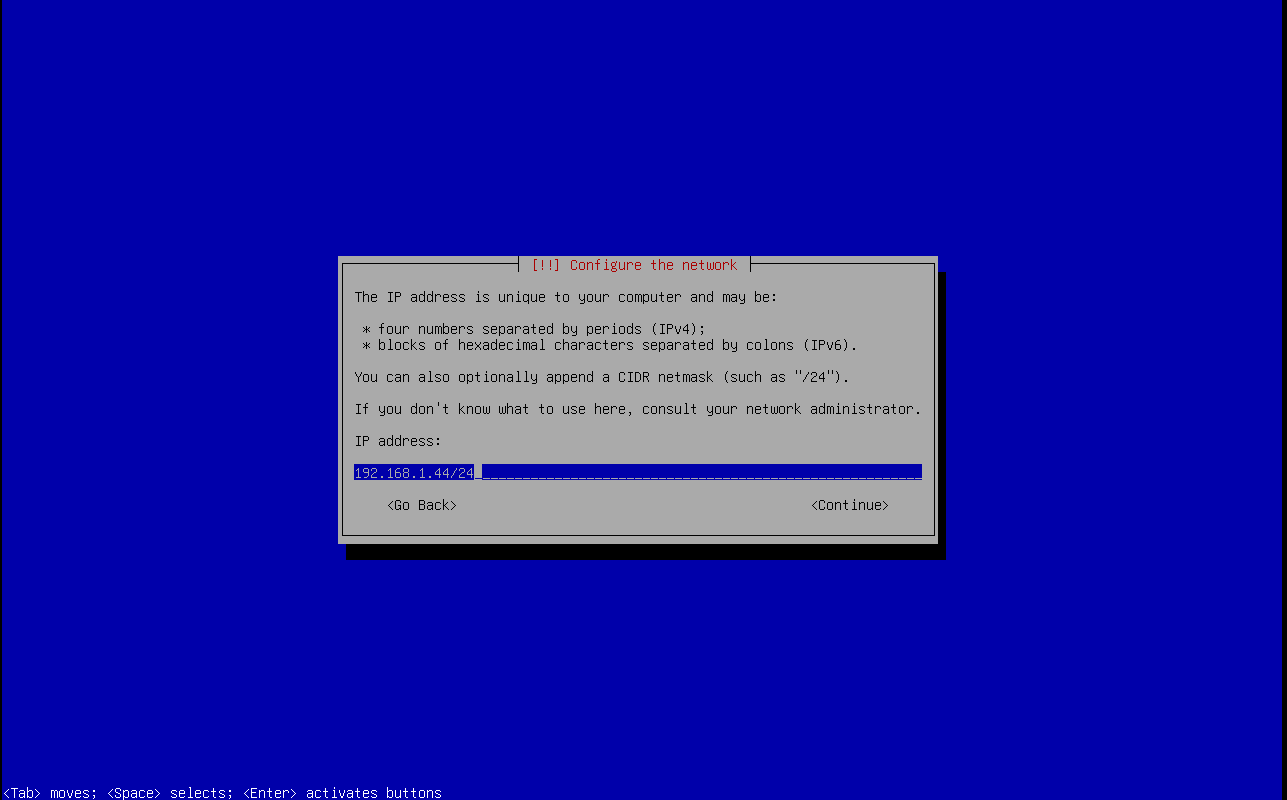
Network / IP configuration
In the next step the installer automatically tries to obtain an IP address using DHCP. If your network offers DHCP, the machine will automatically pick up and configure an IP address from the DHCP pool.

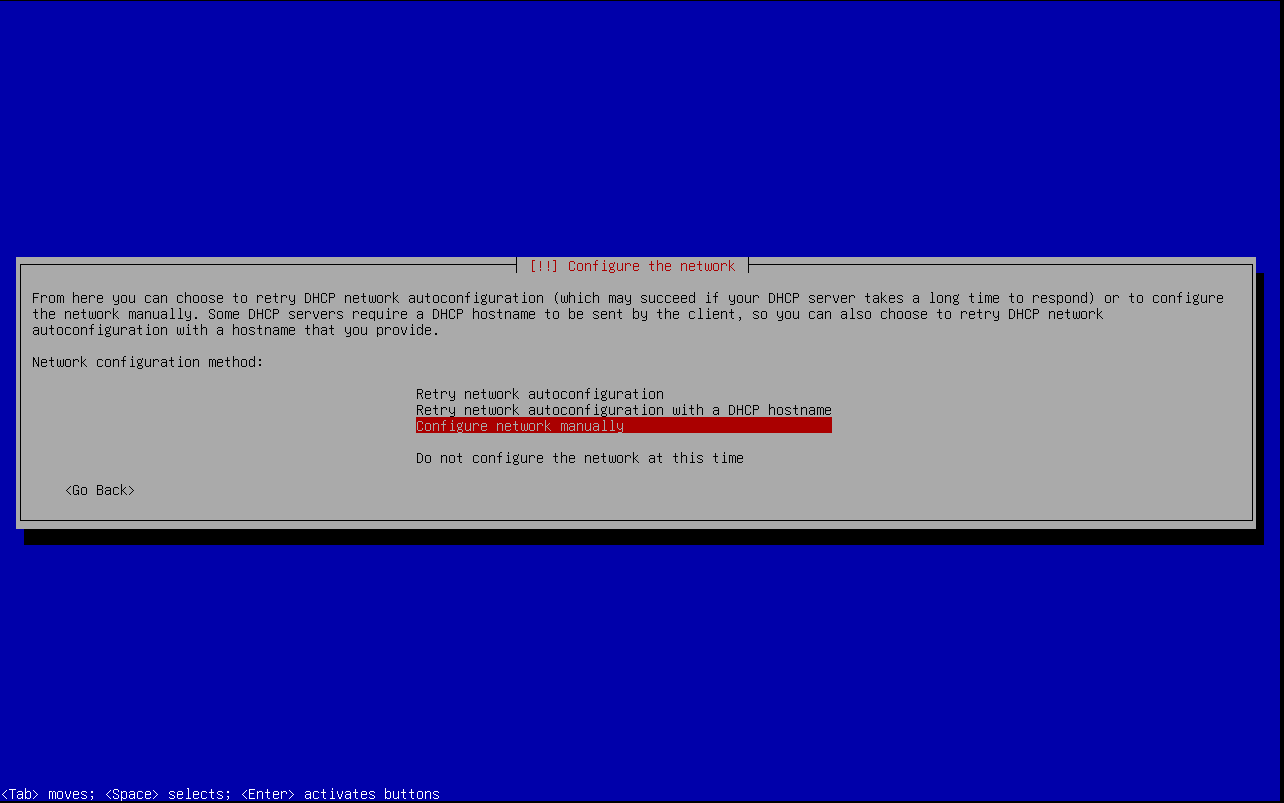
If you want to configure the IP address manually, you need to be really quick here and hit [ENTER] to use the <Cancel> selection.
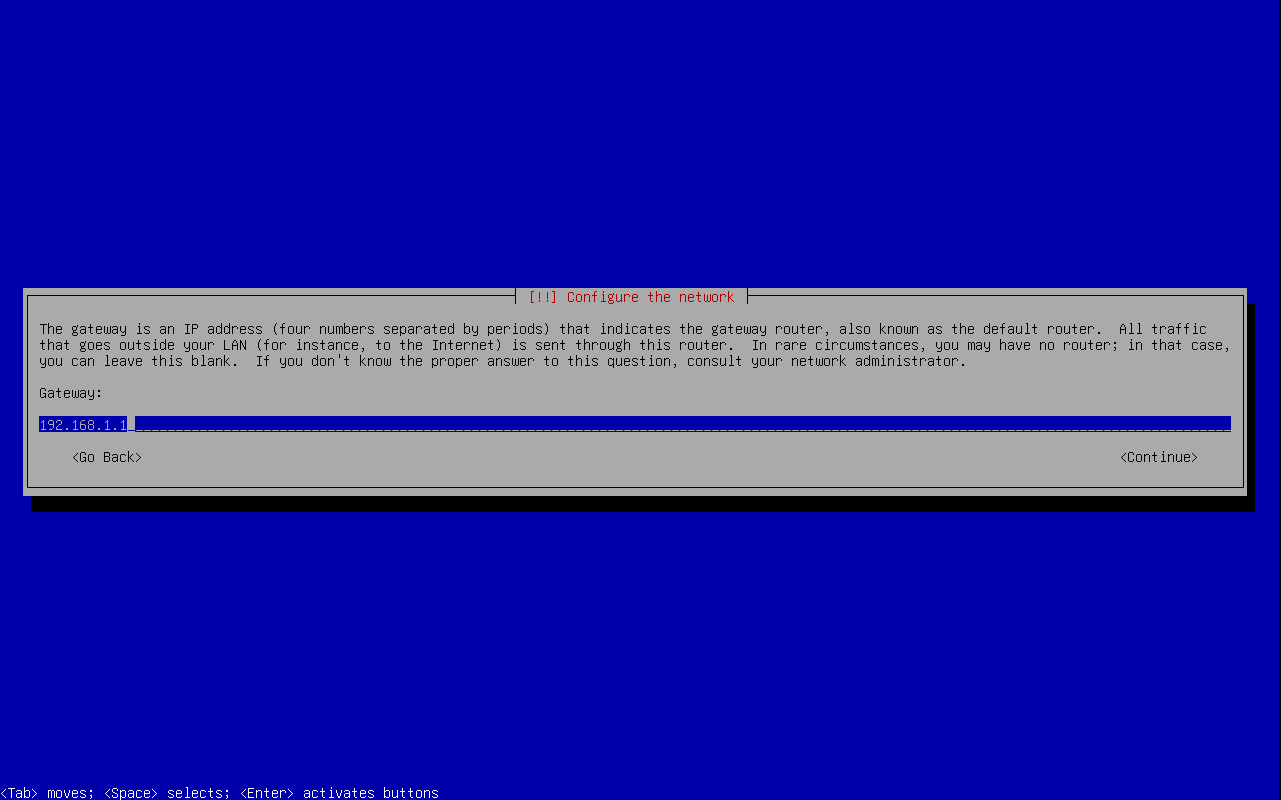
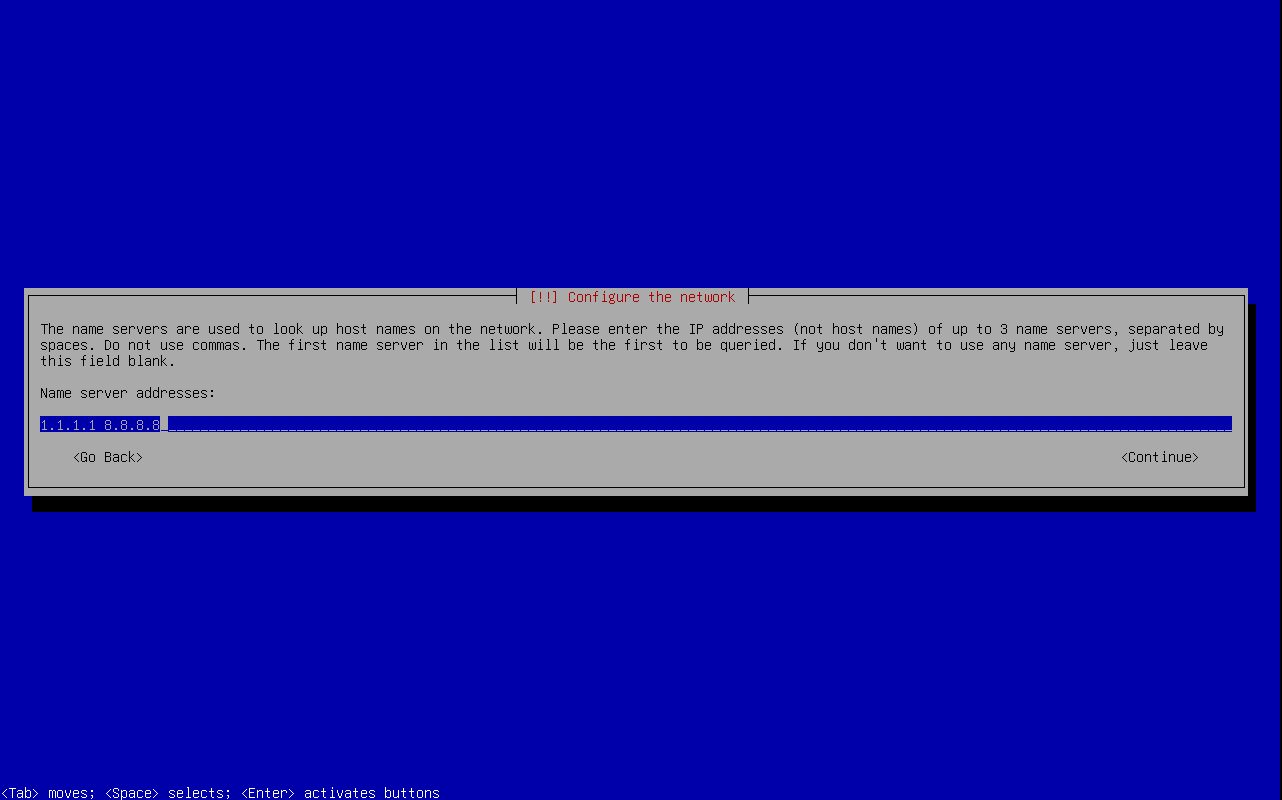
If the automated network configuration (DHCP) was cancelled or failed for another reason (for example no DHCP server reachable), then the network must be configured manually.
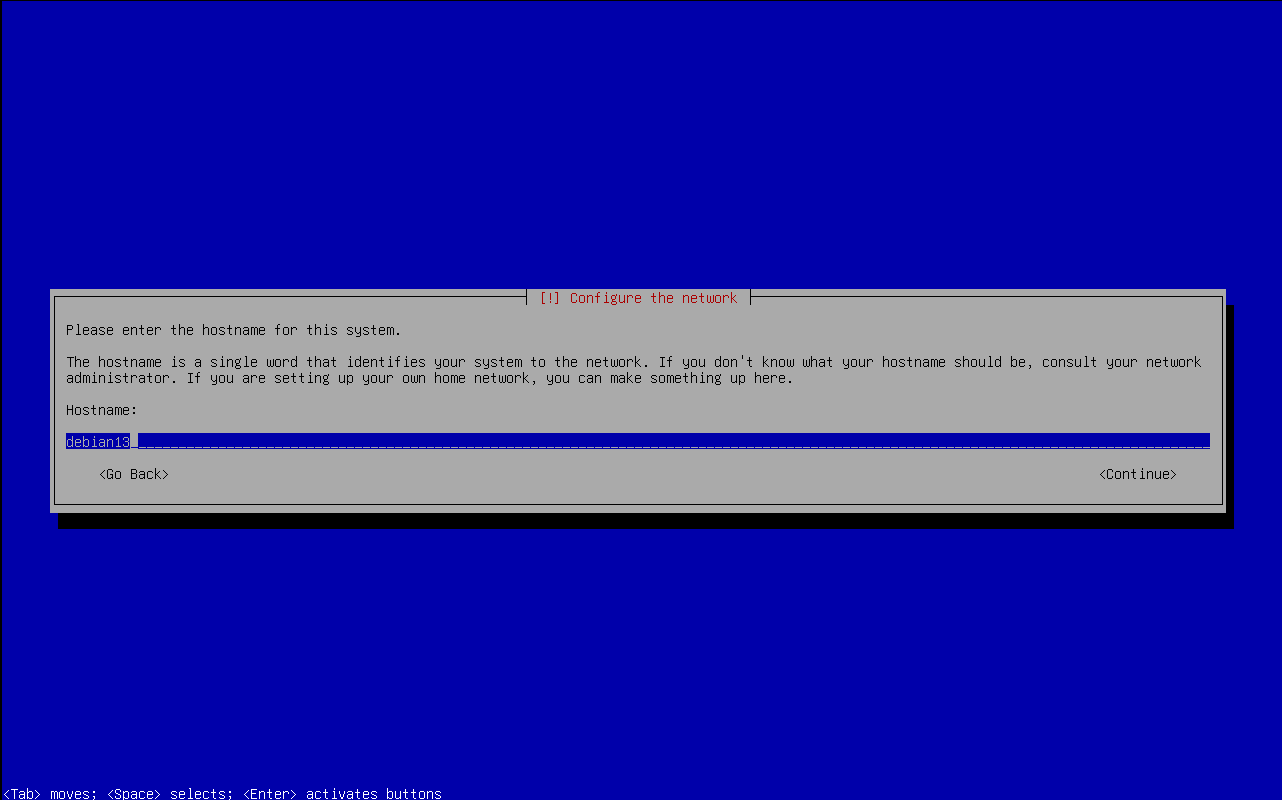
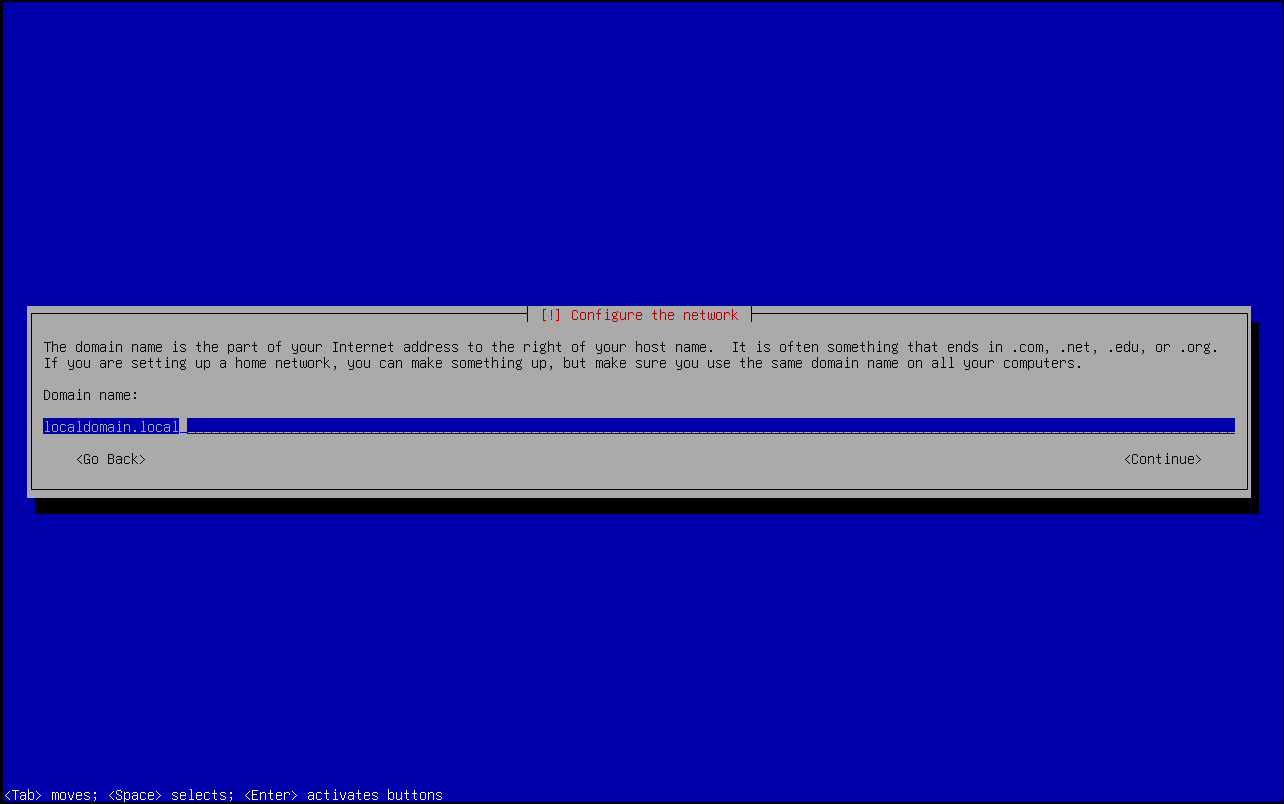
Host and domain name
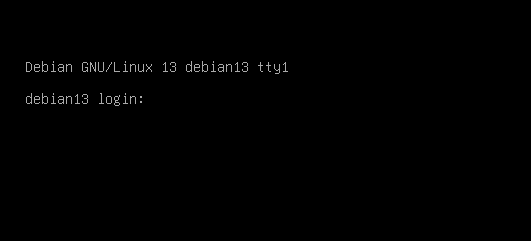
Now it's time to define the hostname of your Debian 13 machine. In this example we simply call it "debian13".
The domain name is part of the full hostname (fully qualified domain name, FQDN). On a public server on the Internet this would look something like this: debian13.example.com. In this situation, the domain name would therefore be example.com.
For internal servers, not directly reachable from the Internet, you can choose internal domain names, such as "localdomain.local" or anything else. If you later want to join the Debian machine into a LDAP or Active Directory domain, you can enter the relevant domain here.
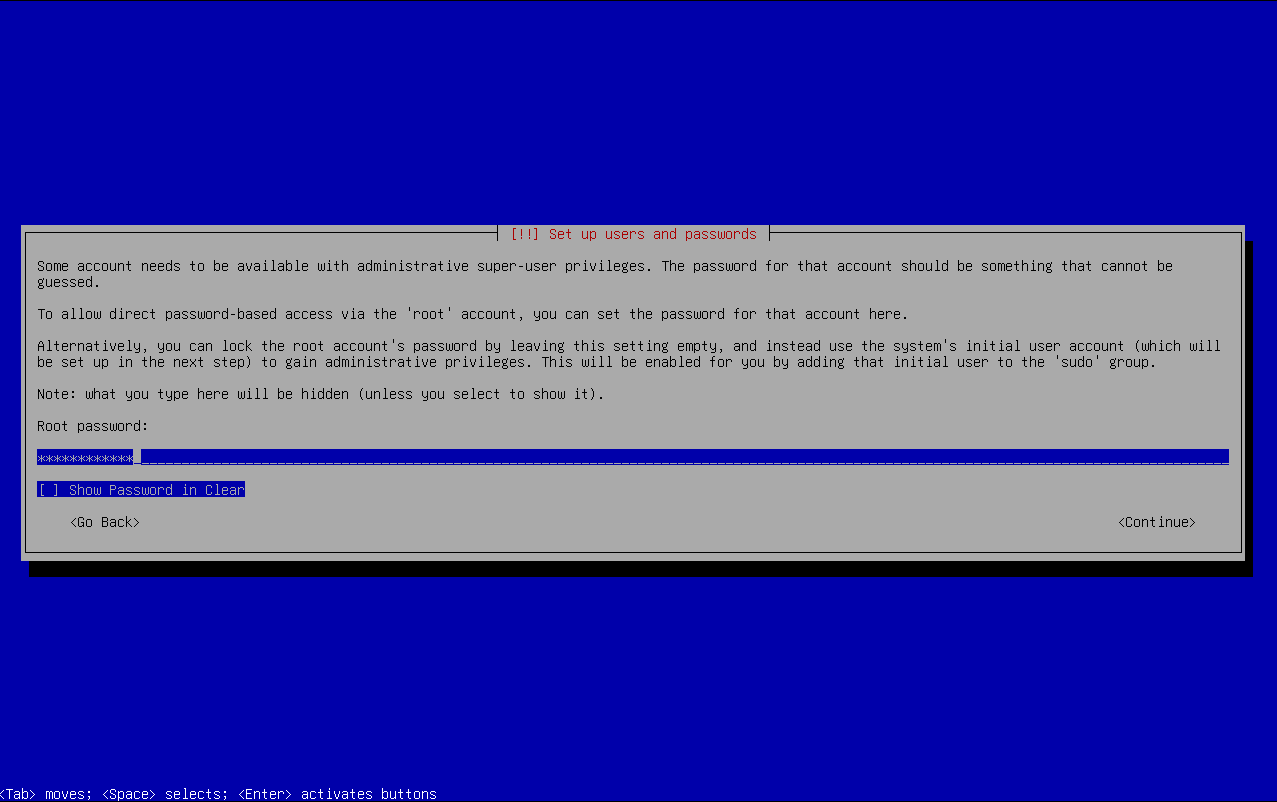
Set up users and passwords
The Debian installer always asks to set up the password for the root user (Ubuntu installation does not do this). If you are new to Linux, the "root" user is the administrator user and has all rights and permissions over this machine. Additional users have only limited permissions. They can be granted higher permissions later on. As first step you must set a password for the root user and then confirm the password.
You will need to confirm the entered root password.
Now the first user will be created. This is typically your own user you work with (it's generally a bad idea to work as the root user).
The "Full name" is more a description for the new user.
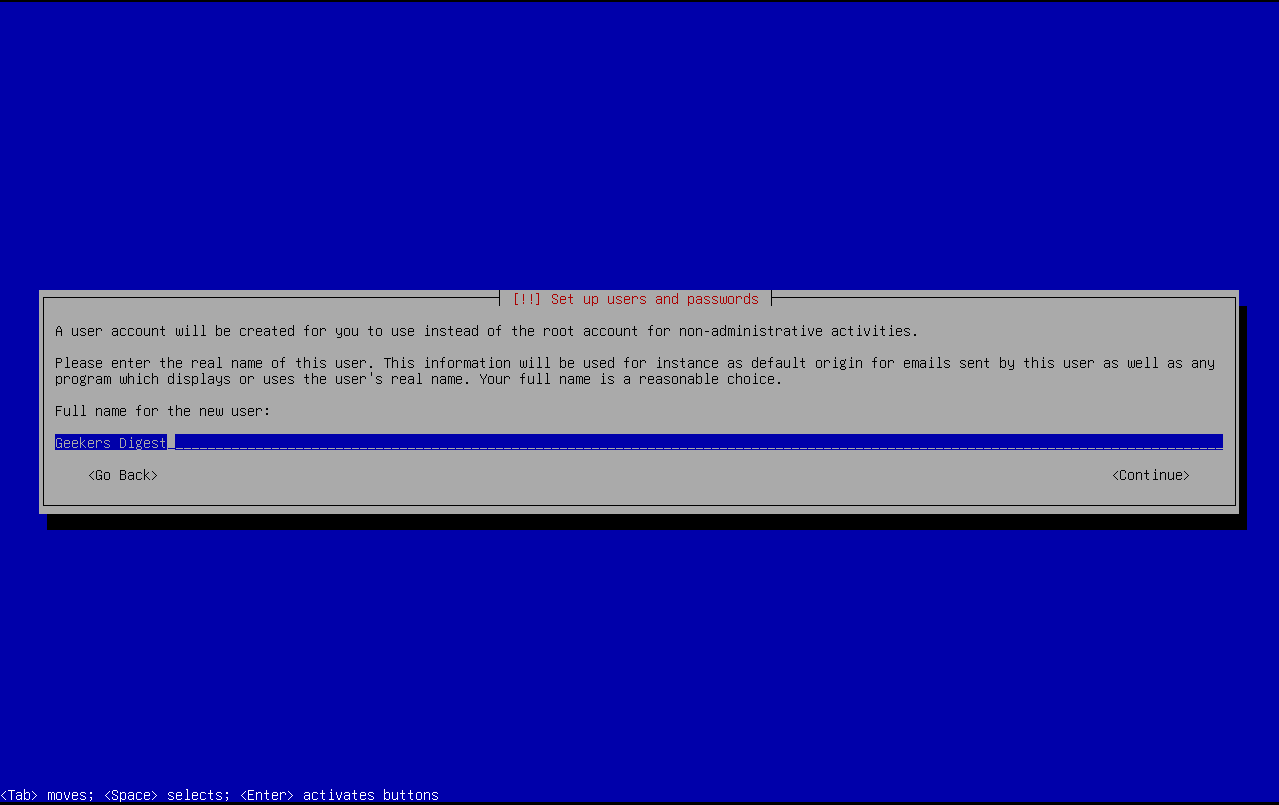
The actual username is defined in the step after, by setting the "Username for your account":

And of course you need to set a password for this user:
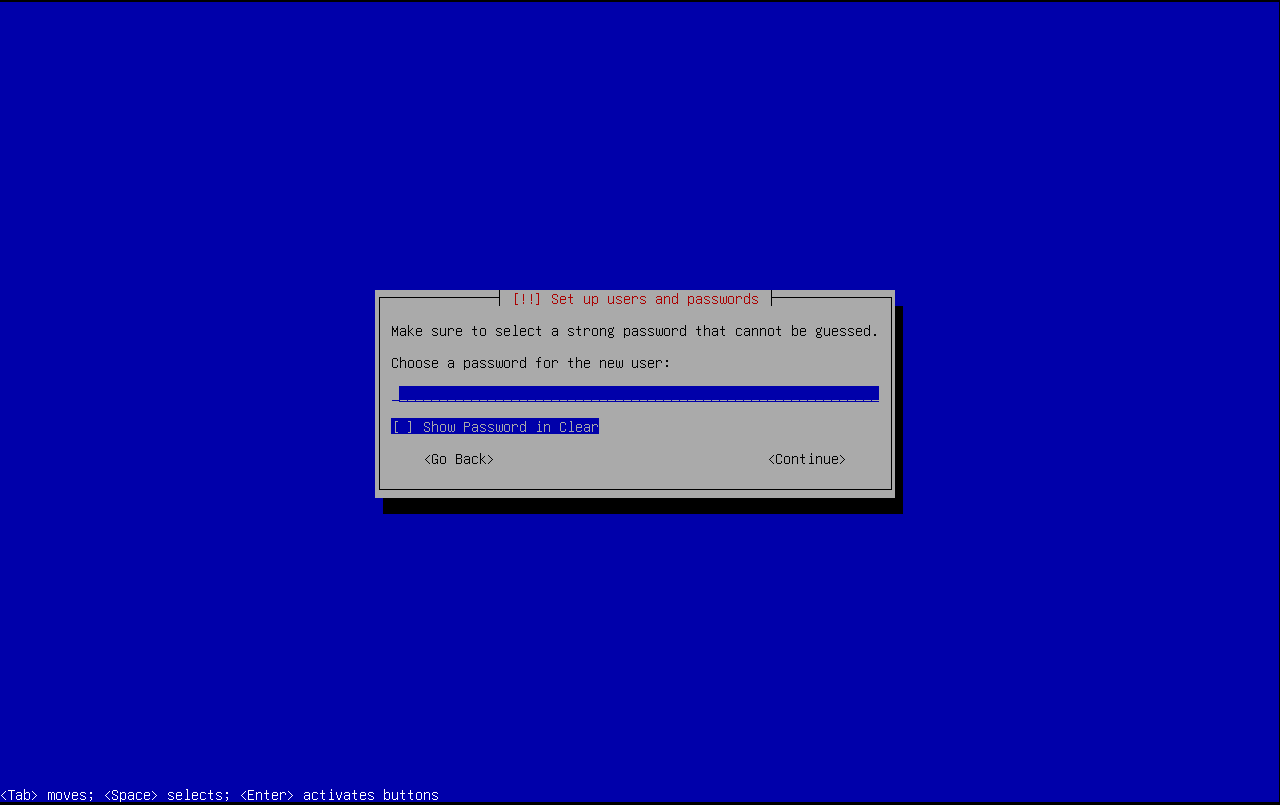
The password needs to be confirmed.
Setting up the disk (partitioning)
For the new Linux users: The Linux disk is split up into multiple paths, including the root path "/", a path for user files "/home", for temporary files "/tmp" and more. By using disk partitions, a dedicated file system can be created for each path. The disk partitioning layout can be very simple with just one partition for all paths (using the root path "/") or very complex using many partitions.
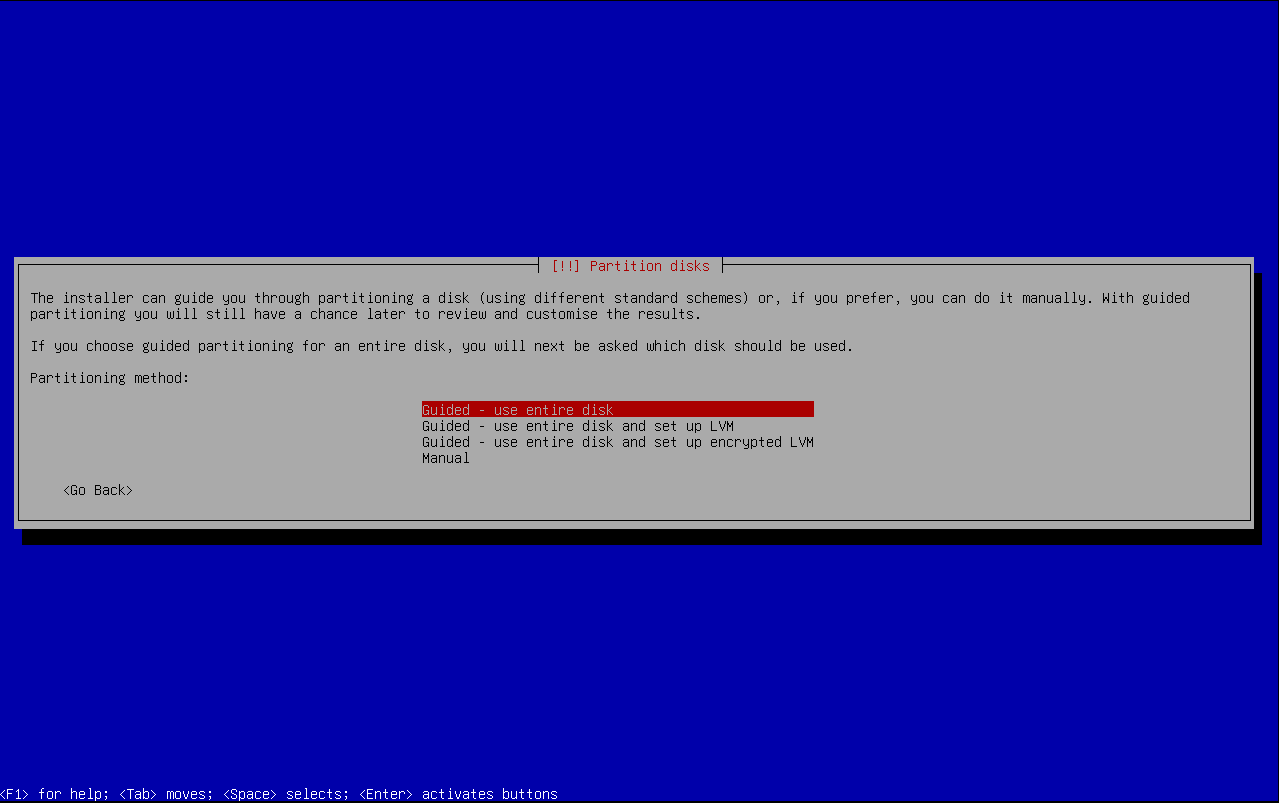
In this example I will just use the simple and "guided" partitioning setup, which uses the entire disk (using the root path "/"). This is fine for a personal or a test machine.
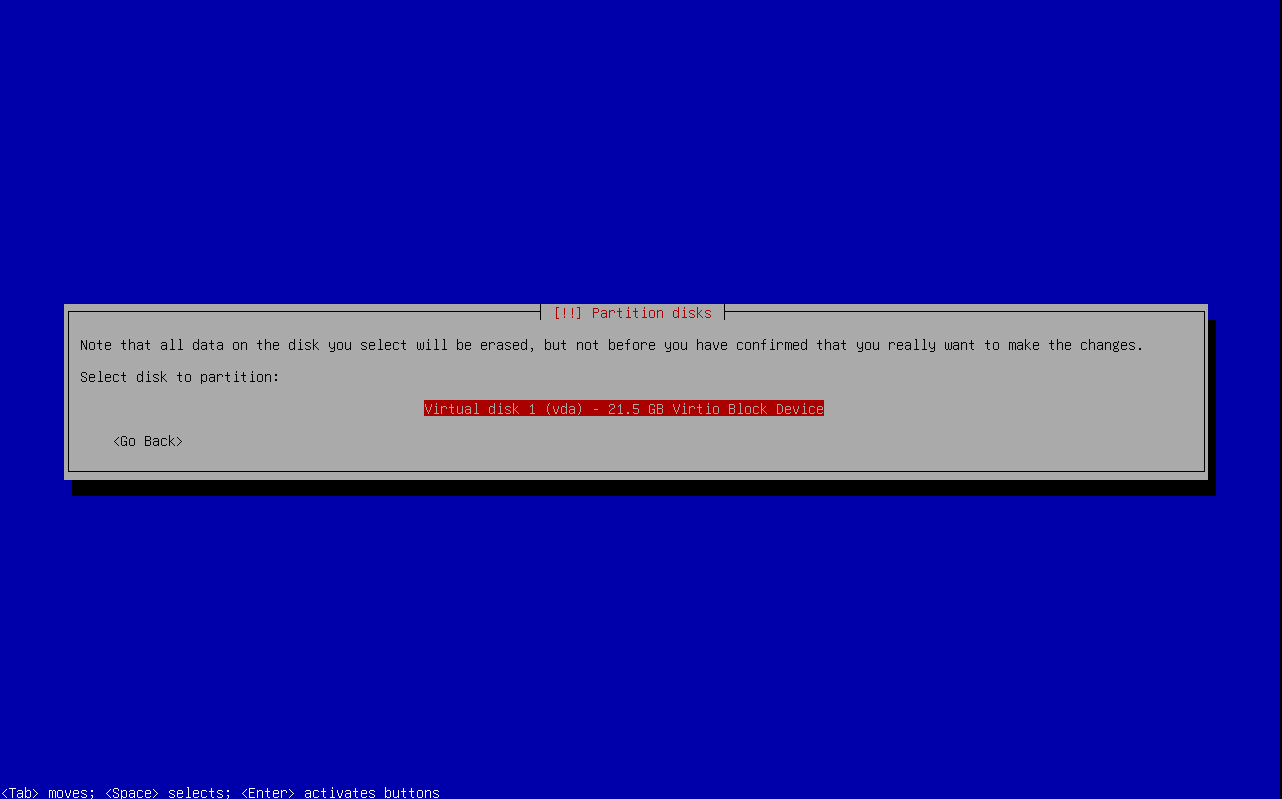
The Debian installer presents all available (discovered) disks. These are seen as "block devices" inside Linux.
In this situation there's one block device detected as vda (path: /dev/vda).
In the next step the installer automatically tries to obtain an IP address using DHCP. If your network offers DHCP, the machine will automatically pick up and configure an IP address from the DHCP pool.
The setup now presents pre-configured partitioning layouts:
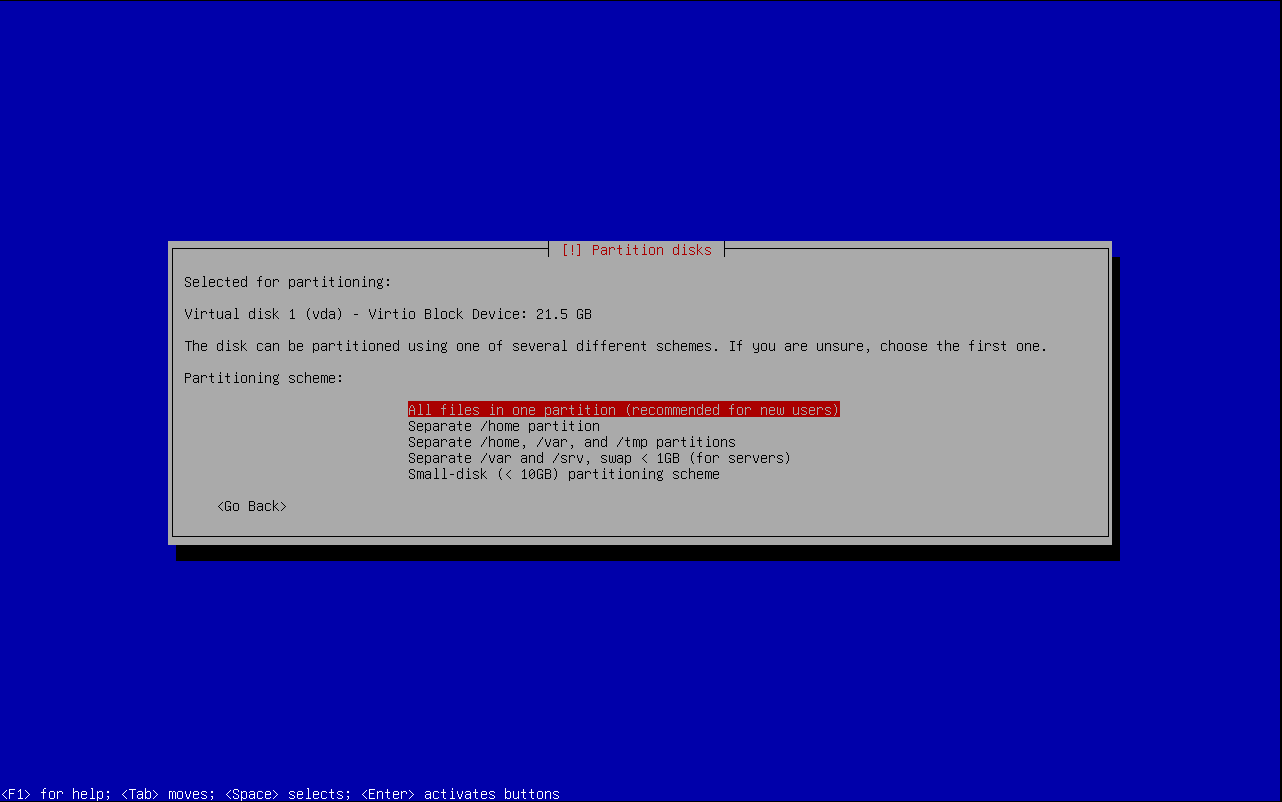
- All files in one partition: One partition and a single file system (path: /, called root partition). OK for non-production and personal machines (workstations).
- Separate /home partition: Besides the root partition, a second partition and file system is created an located under /home. The /home path contains personal files and documents from each user.
- Separate /home, /var and /tmp partitions: In server environments, especially on production environments, it is recommended to create separate partitions and file systems for /var and /tmp.
- Separate /var and /srv, swap: Similar to the previous layout but without the /home and /var partitions, but with a swap partition.
- Small-disk: A predefined partitioning layout for really small servers (Disk size smaller than 10 GB).
As mentioned at the beginning of this section, we will proceed with one root partition (option 1). The installer shows an overview, how the disk will be partitioned:
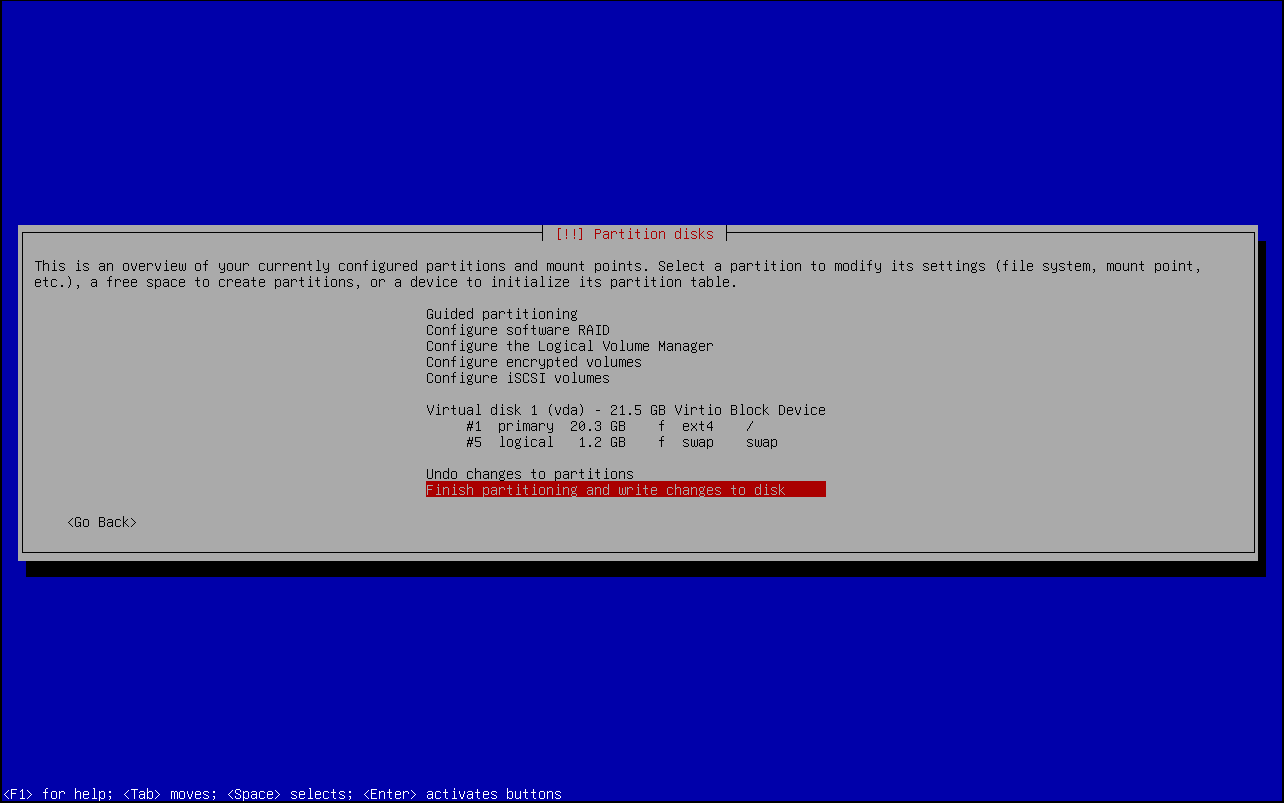
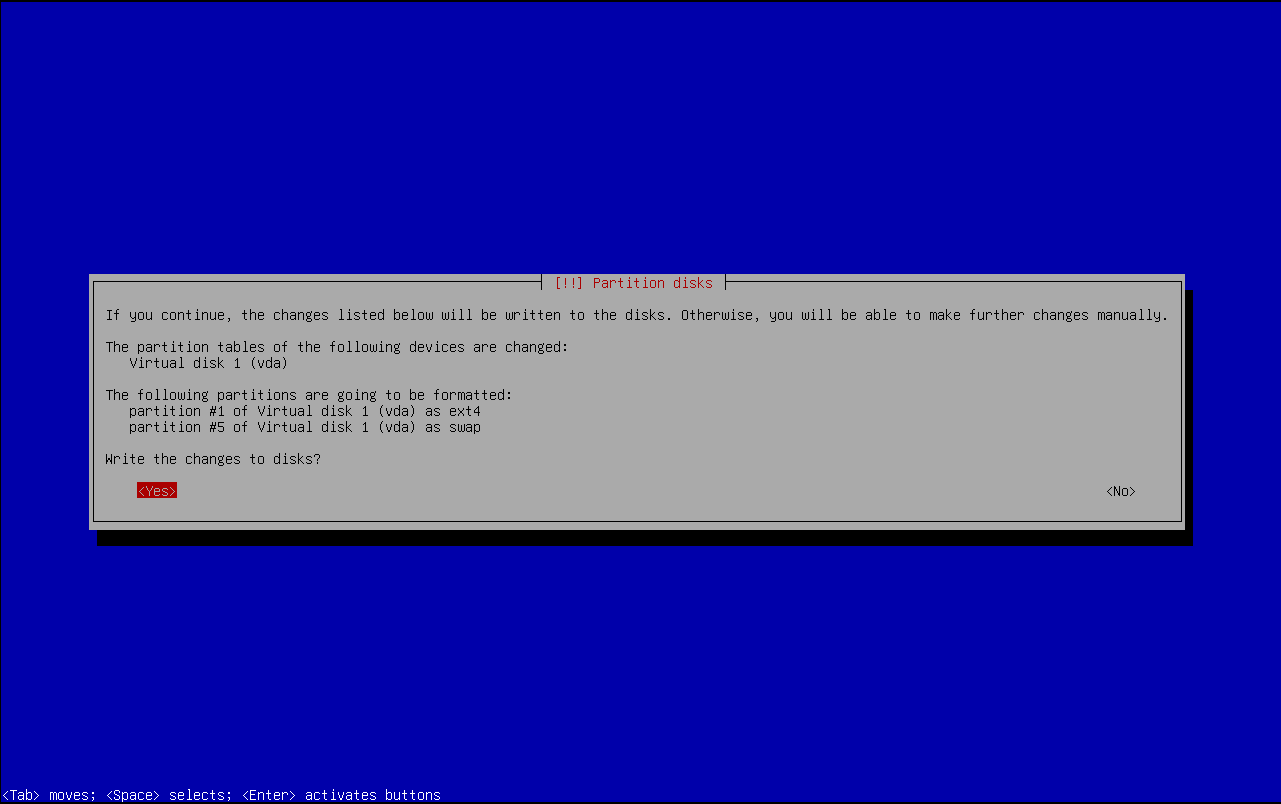
In this situation, the Debian installer will create a root partition with a 20.3 GB ext4 formatted file system. A logical partition of 1.2 GB is created for swap.
You can adjust the partitioning layout or confirm (Finish partitioning and write changes to disk).
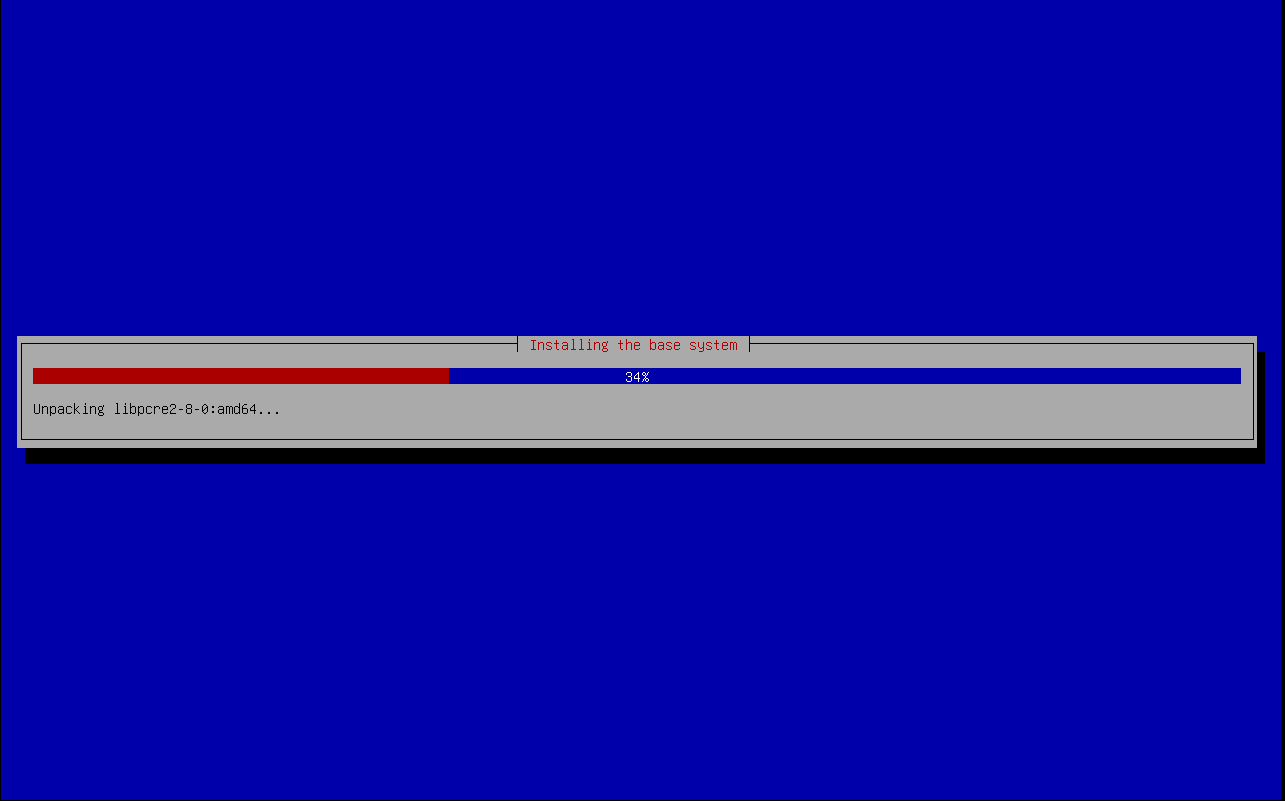
Installing the base system
After confirming the partitioning layout, the Debian installer is now automatically installing the packages from the base system into the file system(s).
Package manager
After installing some base packages, the next step is to configure the APT package manager.
The setup has already included the Debian installation media as package source and asks you whether you want to add an additional media source.
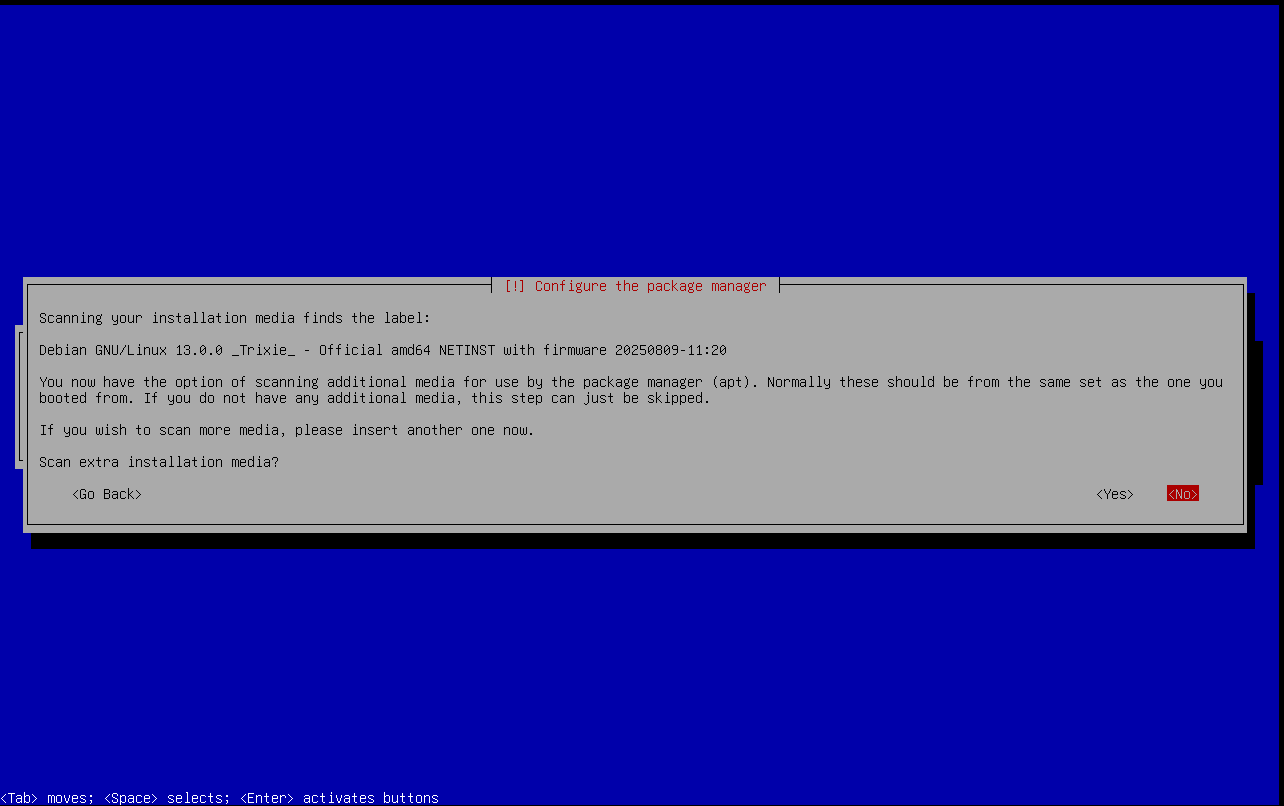
If you have Internet access you can select <No> here, as additional packages will be downloaded from Internet.
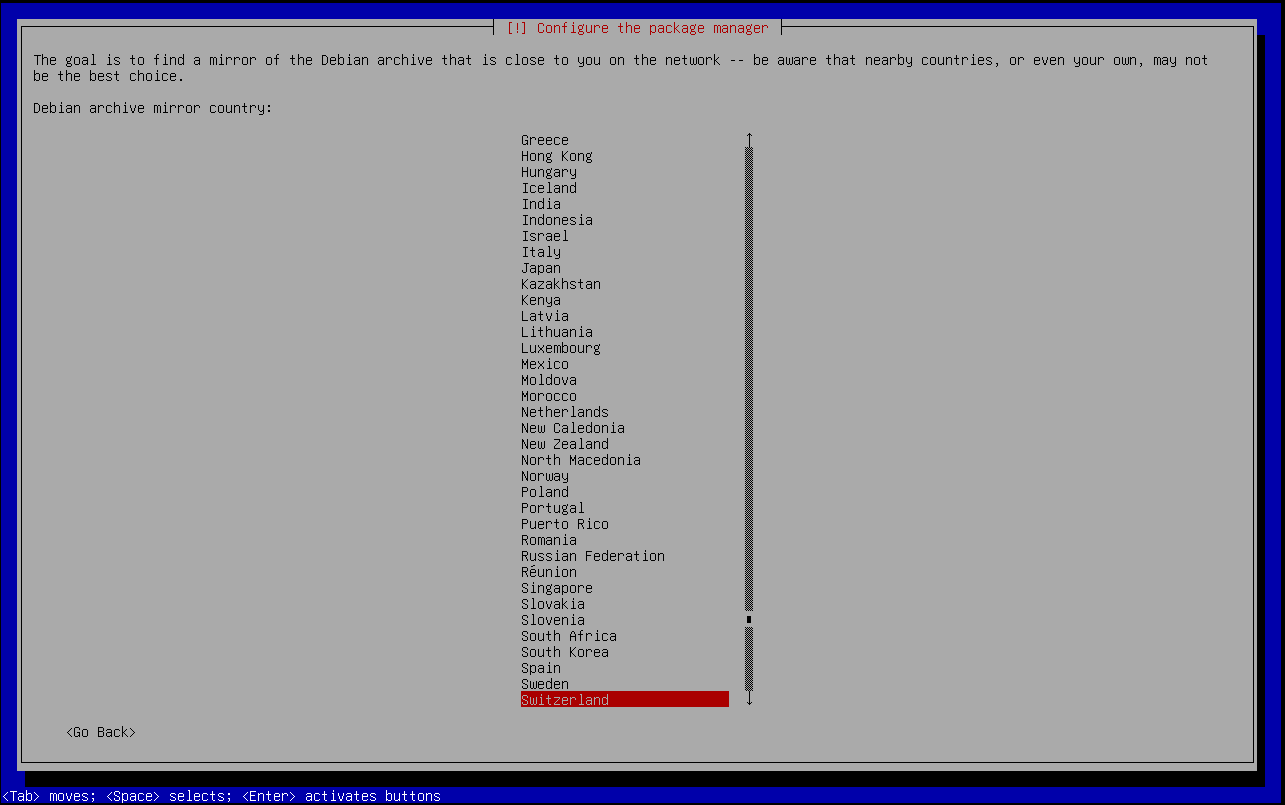
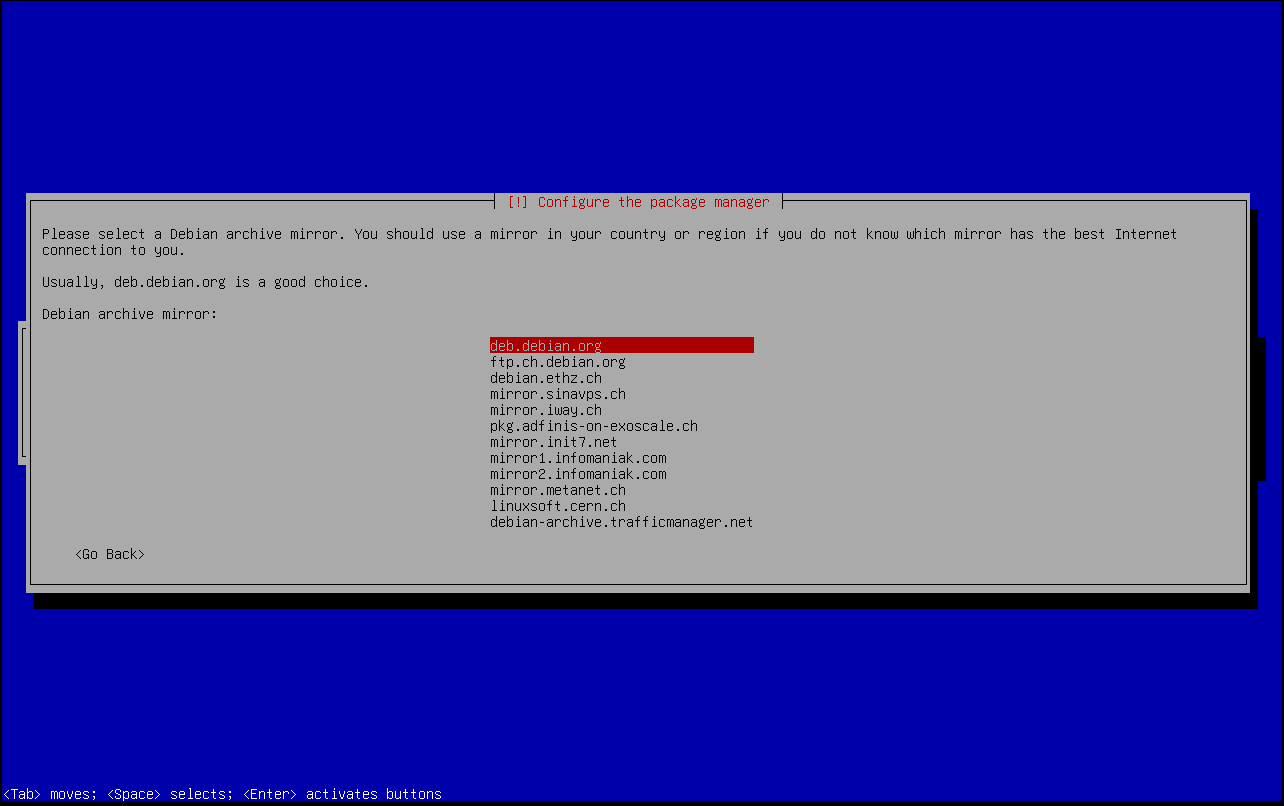
This is what the next step is about, you can choose a local mirror. In my situation I am choosing a mirror in the same or near my country, Switzerland.
In case you want or have to use a HTTP proxy for outgoing Internet connections, the Debian installer asks you now to configure the proxy.
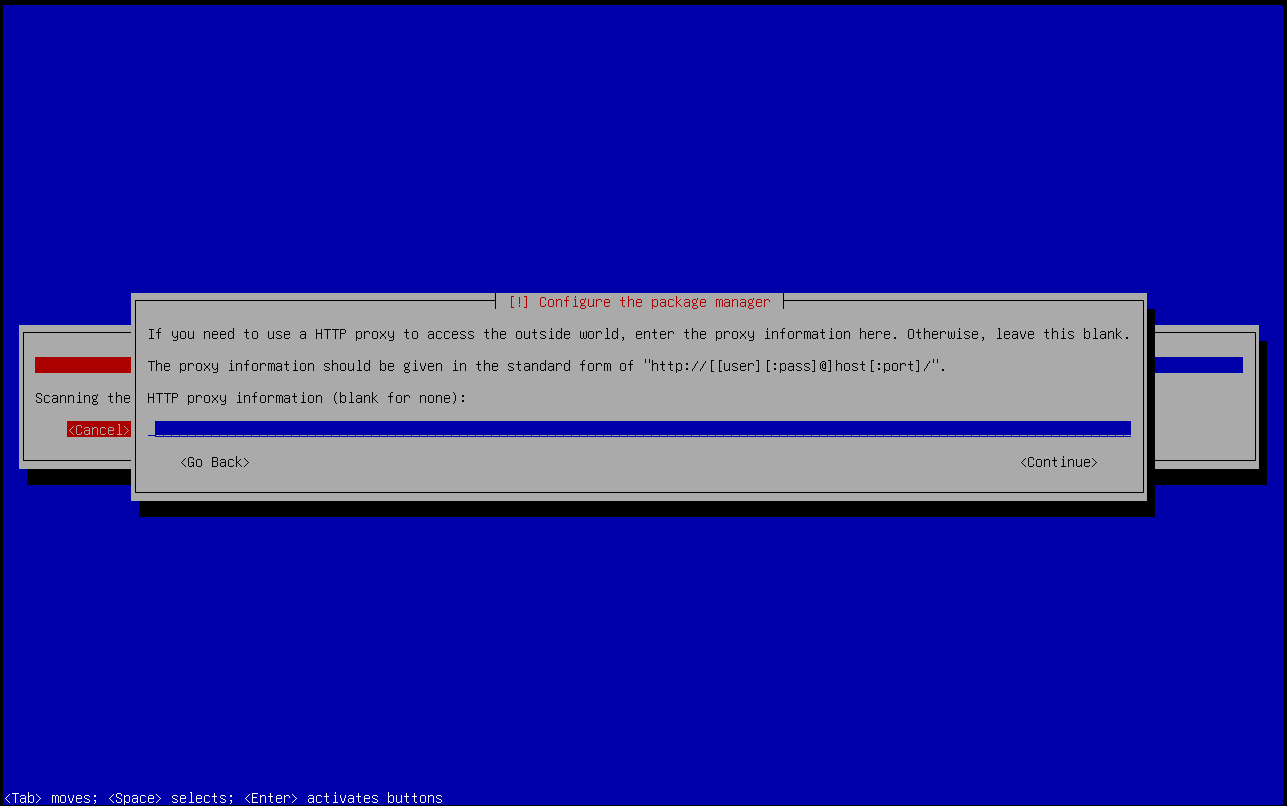
If you don't need a proxy, just leave this field blank and confirm with [ENTER].
The Debian installer is now downloading and installing packages updates from the package repositories on the Internet or from the mirror you have selected.
Additional packages after base setup
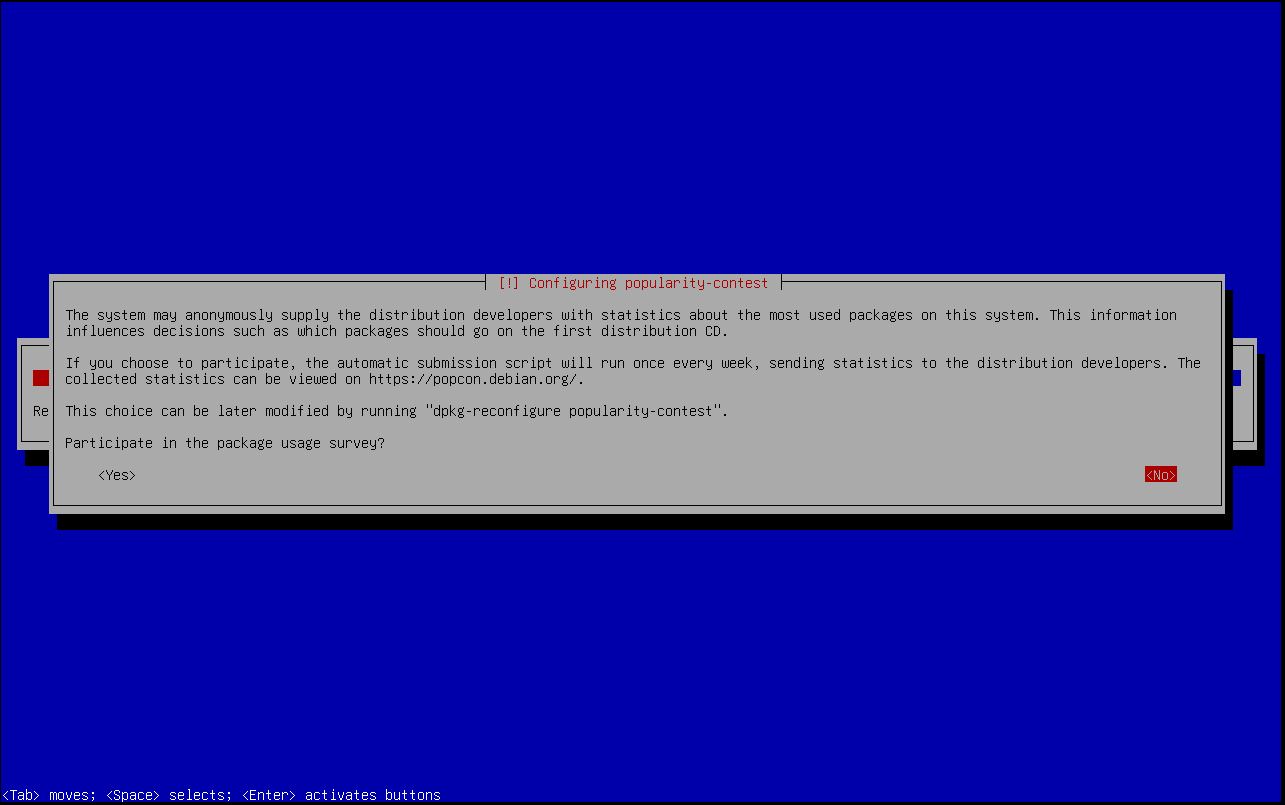
The installer now asks whether or not to participate in the package usage survey. This is an optional anonymous feedback which packages you install on this machine. It helps the Debian developers to decide which packages should be part of the base installation already.
For production servers, we recommend to select <No>. For all other servers, including personal workstation or test/lab servers, feel free to select <Yes>.
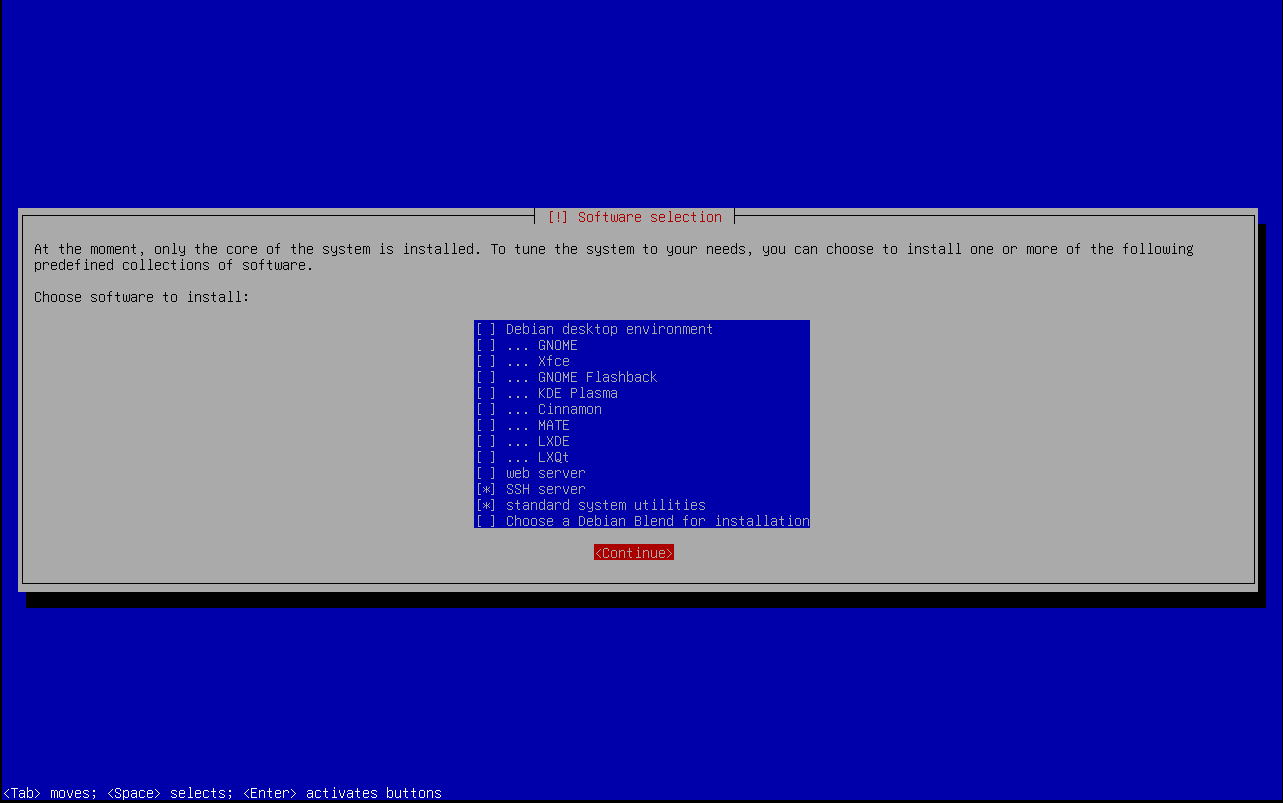
After answering the survey question and after the finish of the base package updates, it's time to select additional software to install.
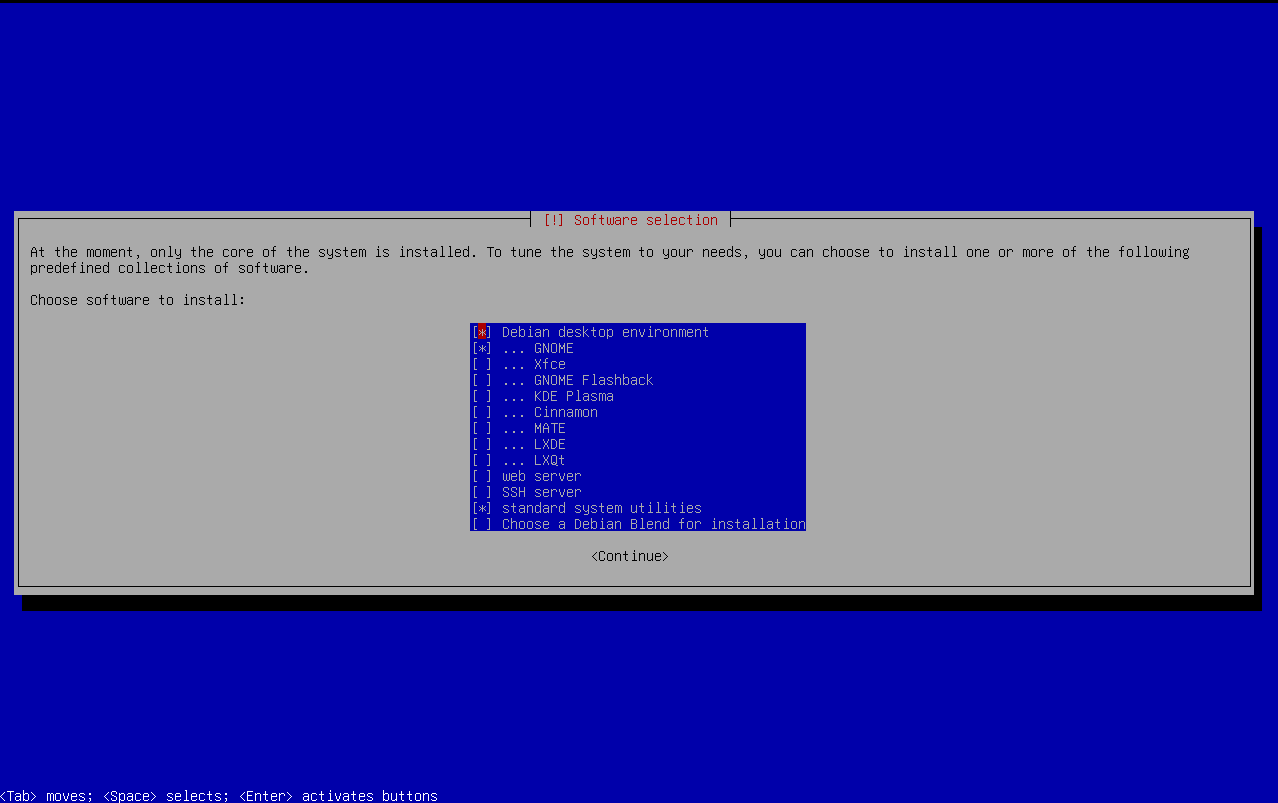
If you're going to use this machine as a workstation, you might want to install the Debian desktop environment. This offers multiple display managers such as the widely used and extensive GNOME or KDE. But there are more lightweight display managers such as Xfce. Even Cinnamon (default on the Linux Mint distribution) has made it to the list.
You can even install multiple display managers and then later try out which you like most.
For a server environment, where you most likely don't need a desktop (GUI) environment, you can de-select the desktop environment.
In most situations it is wise to enable the SSH server, too.
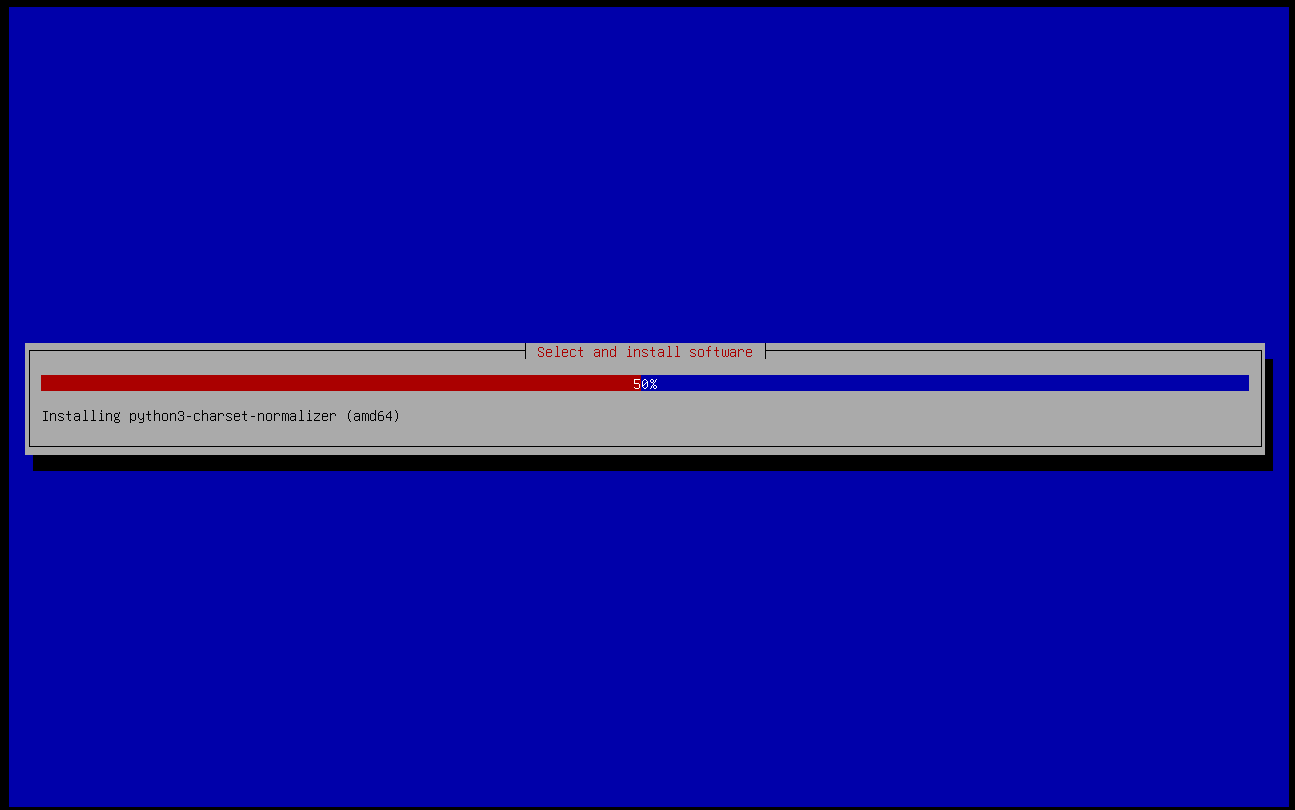
The Debian installer will now install additional packages, according to the previously selected list of software.
GRUB bootloader
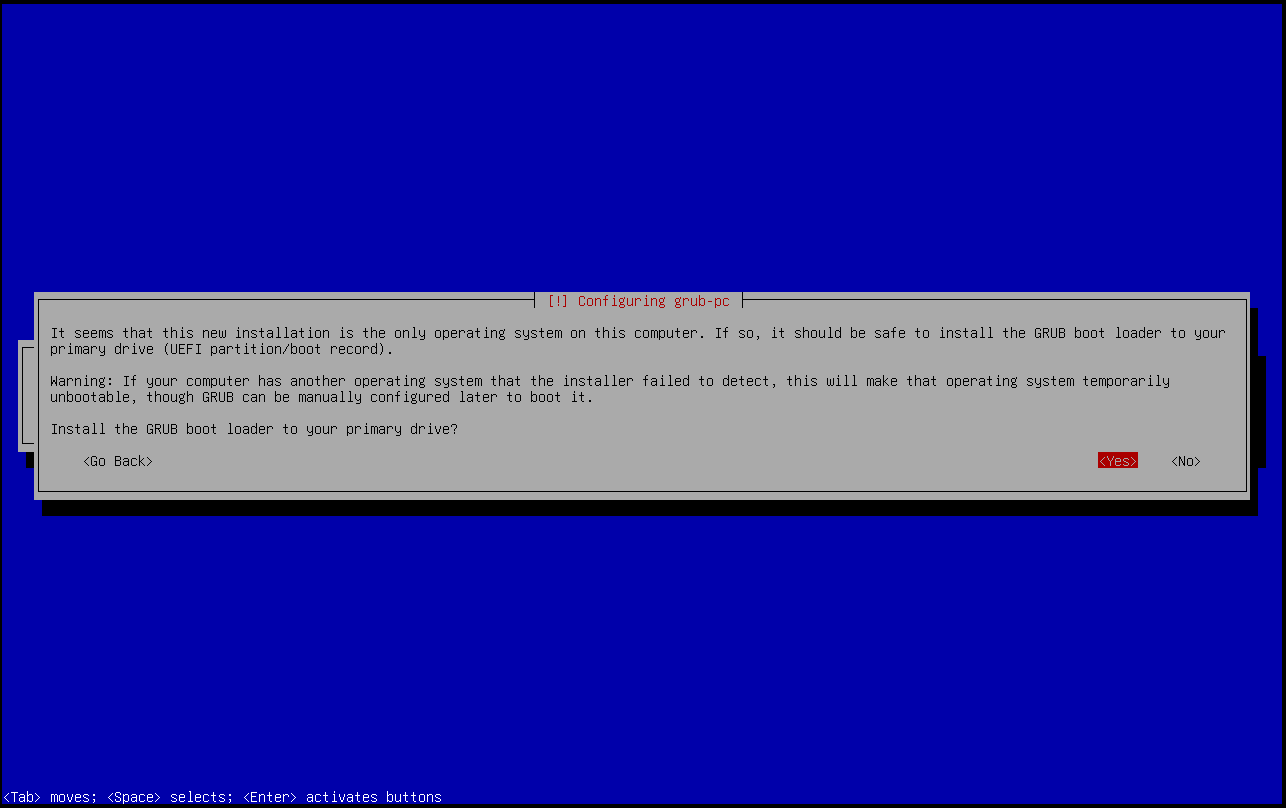
The GRUB boot loader is installed at the end of the installation. The boot loader writes meta information into the first blocks of the hard or solid state drive, where to find the Linux kernel to start the Debian OS. It's therefore absolutely mandatory or your system will not start after the installation. Definitely chose <YES> here.
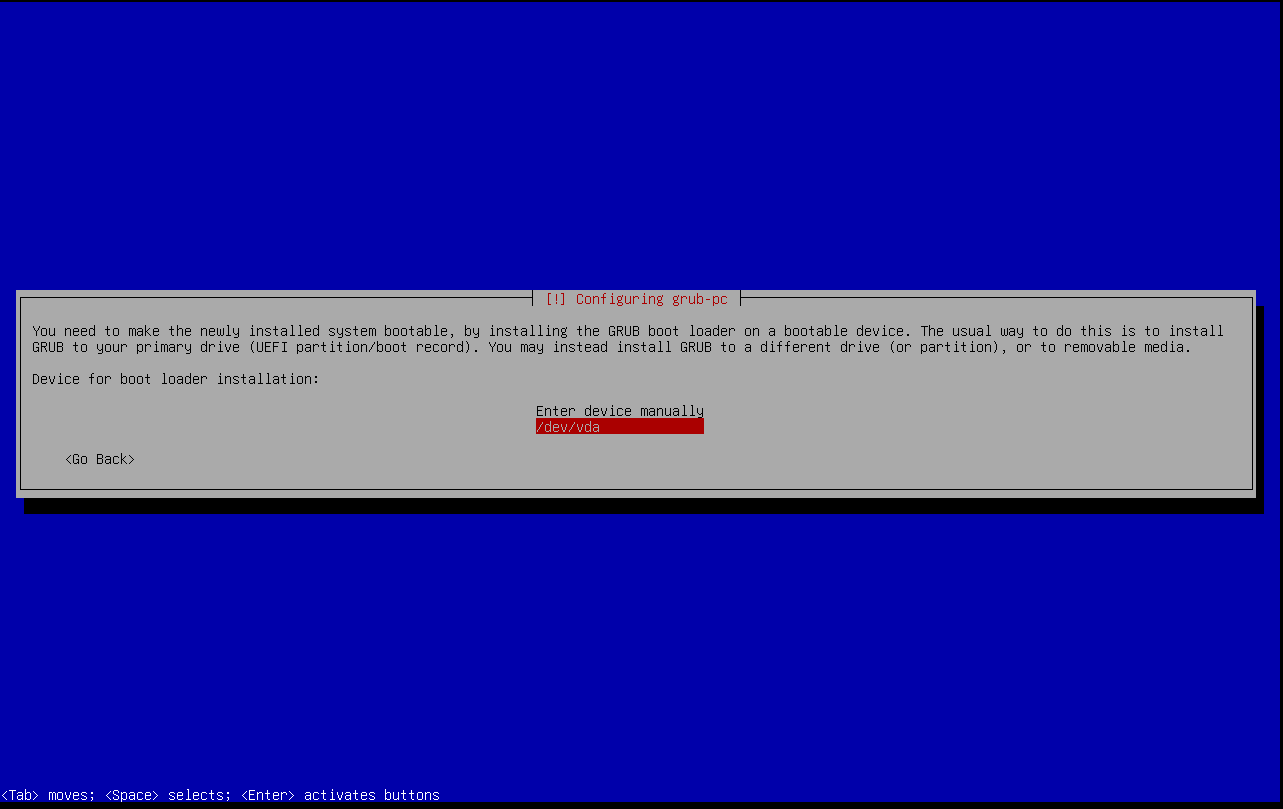
The installer will attempt to auto-discover your primary drive. Make sure you select the correct drive in case there are multiple drives detected.
Finish and reboot
With this, the installation of Debian 13 has arrived at its end. After confirming, the system reboots and your Debian 13 should be up and running.