The next stable Debian Linux version 12 (code worm Bookworm) is around the corner. The official Bookworm release date was announced a couple of weeks ago and is currently set to June 10th 2023.
Time to do some testing, before the official release! For this purpose we downloaded the Release Candidate 2 (RC2) netinst ISO and booted a virtual machine using the installation ISO.
Download Installation Medium (ISO)
As of writing this article, Debian 12 is not yet officially released as stable version. It is therefore only available under the "testing" downloads. For this article I've downloaded the netinst CD ISO, which contains the most important packages but is very lightweight. Additional packages are installed through Internet. If your machine won't have Internet access, you should opt for the DVD ISO, which contains much more packages.

Once Debian 12 is officially released, it can be downloaded from the official Download page.
Note that Debian 12 is the first Debian release to contain non-free firmware from the beginning. There is no need to download additional ISOs containing non-free drivers anymore.
Once downloaded you can create a bootable media. Either by burning the ISO to a CD/DVD, or create a bootable USB stick. Or, as in my case, just use the ISO as file for the virtual machine.
Boot from installation media
Once your physical or virtual machine has booted from the installation media, it's time to start the Debian Installer. You can choose between the Graphical Install (with mouse support), the text based Install (which I am using in the next steps) and the installer even supports an installation with help for the visually impaired (install with speech synthesis).

In the text installation menu use the arrow keys for navigation and the [ENTER] key for confirming the selection.
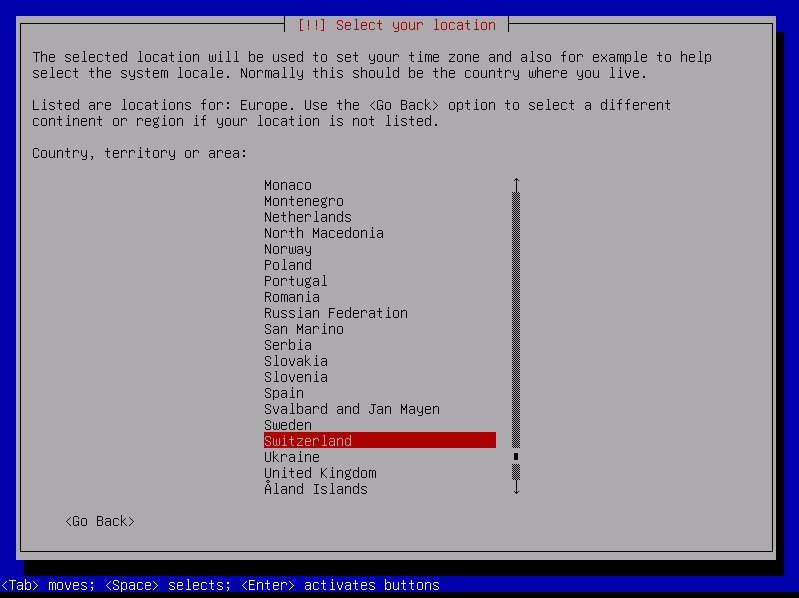
Regional/language settings
In the first few steps you need to select the system language, the system's physical location (country) and your keyboard layout.


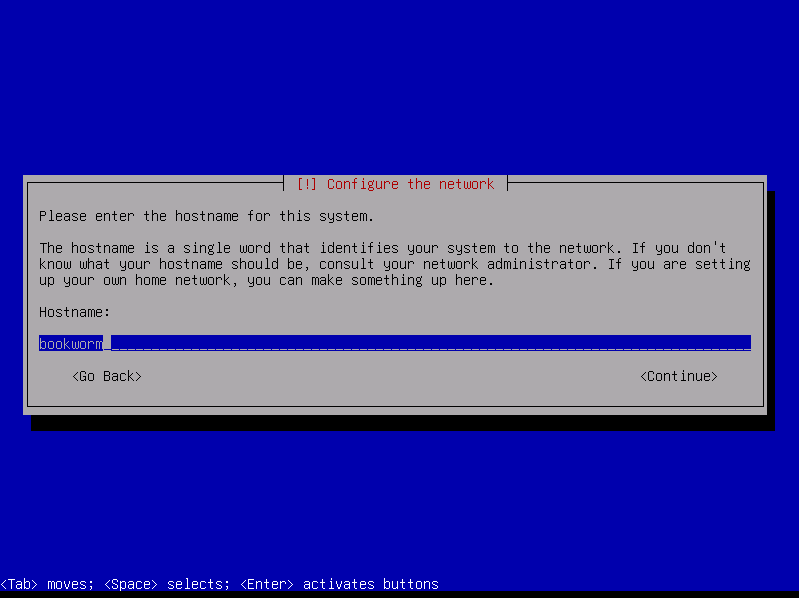
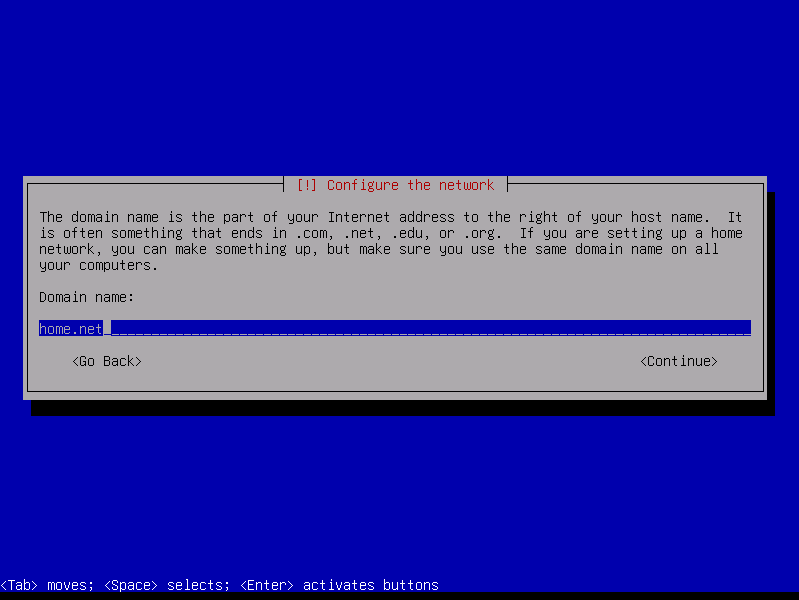
Network and host name
In the next step the installer automatically tries to obtain an IP address using DHCP. If your network offers DHCP, the machine will automatically pick up and configure an IP address from the DHCP pool.
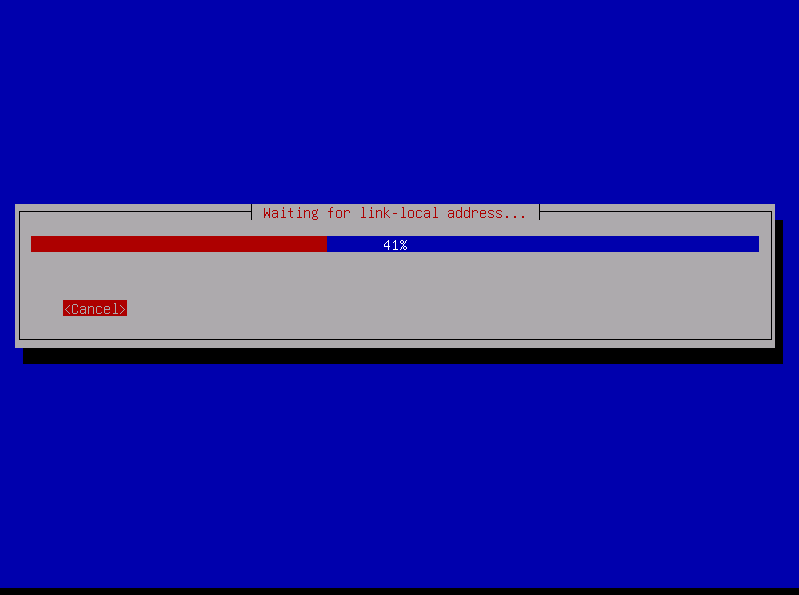
If no DHCP was found on your network, the installer will report that an IP address needs to be configured manually.
After network/IP configuration, the hostname and the domain name needs to be configured. The hostname can be anything you'd like. In this example we're simply using the name "bookworm" as host name. The domain name is not that relevant unless you are in a corporate network. In this example I am using a made up "home.net" suffix.
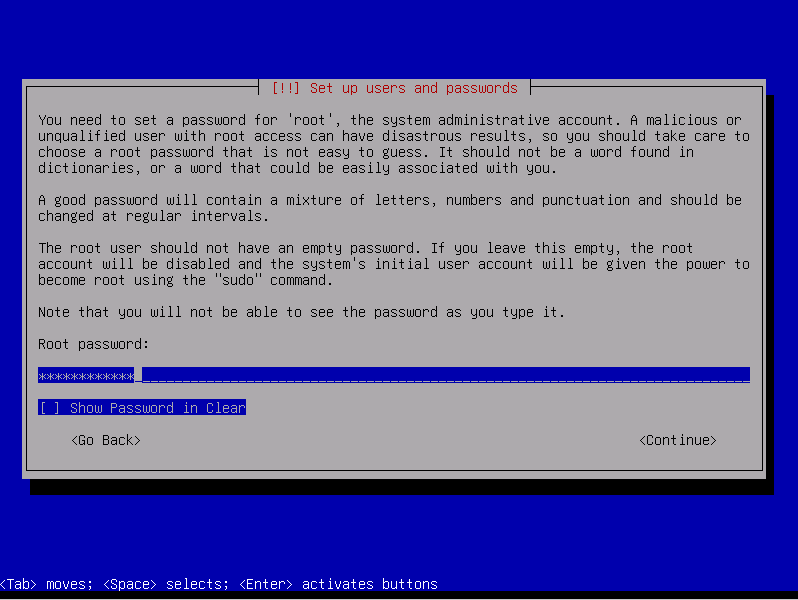
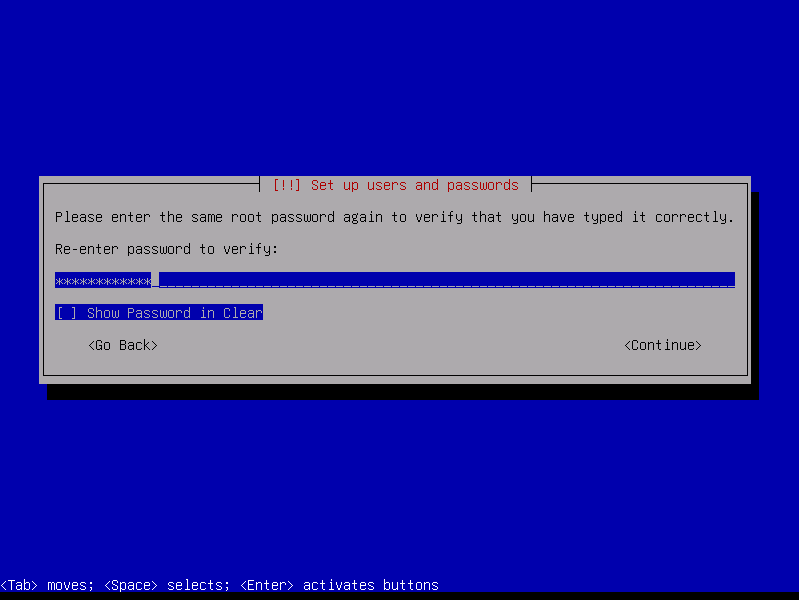
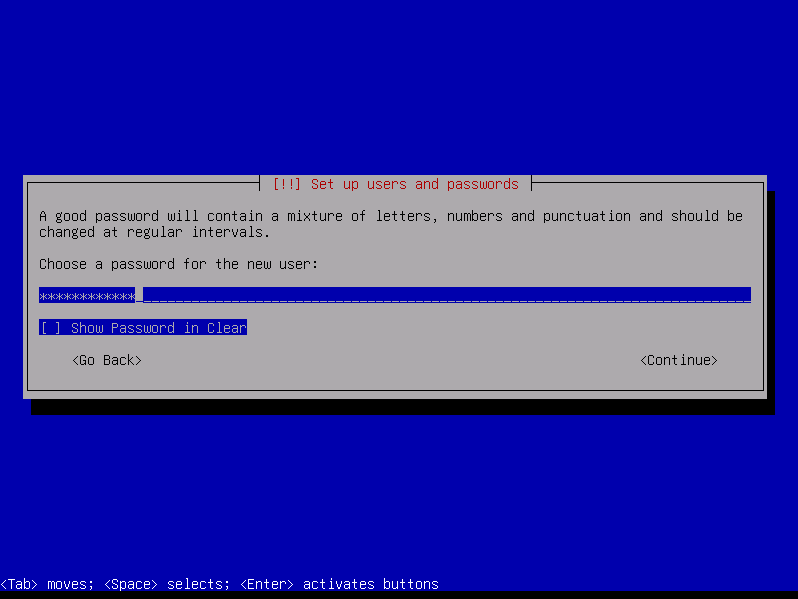
Set up users and passwords
The Debian installer always asks to set up the password for the root user (Ubuntu installation does not do this). If you are new to Linux, the "root" user is the administrator user and has all rights and permissions over this machine. Additional users have only limited permissions. They can be granted higher permissions later on. As first step you must set a password for the root user and then confirm the password.
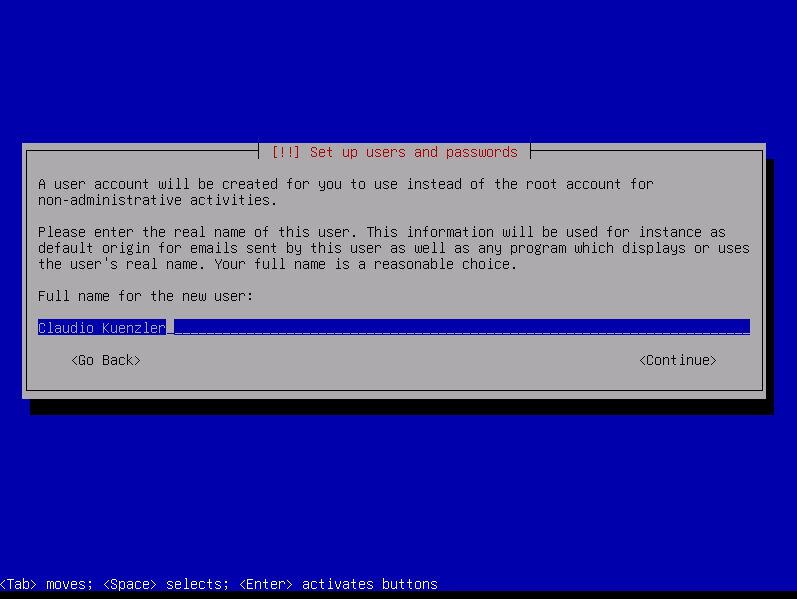
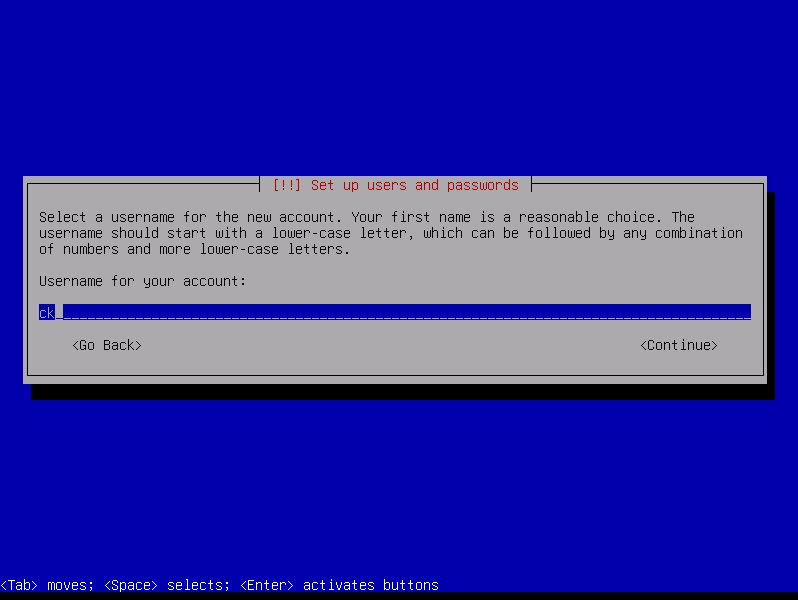
After the root password is set, an additional user is created. This can be your personal user or it can be a generic user, your choice.
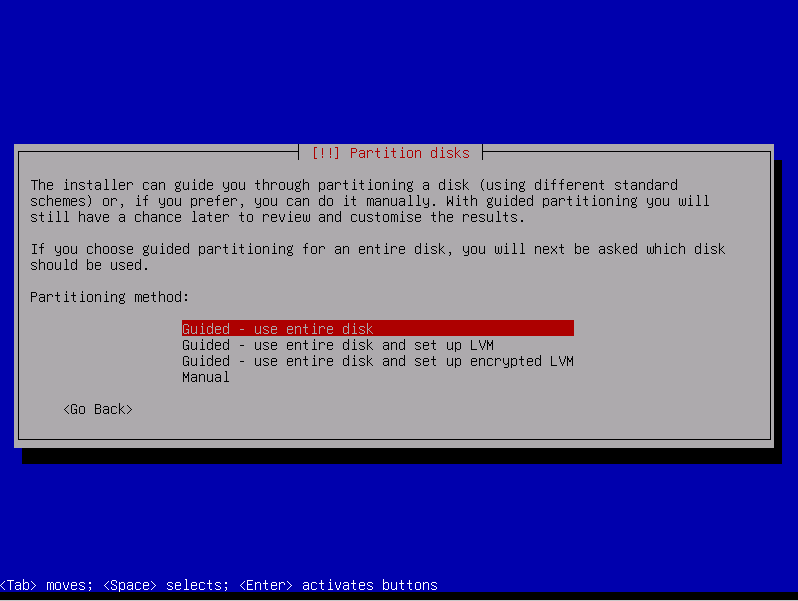
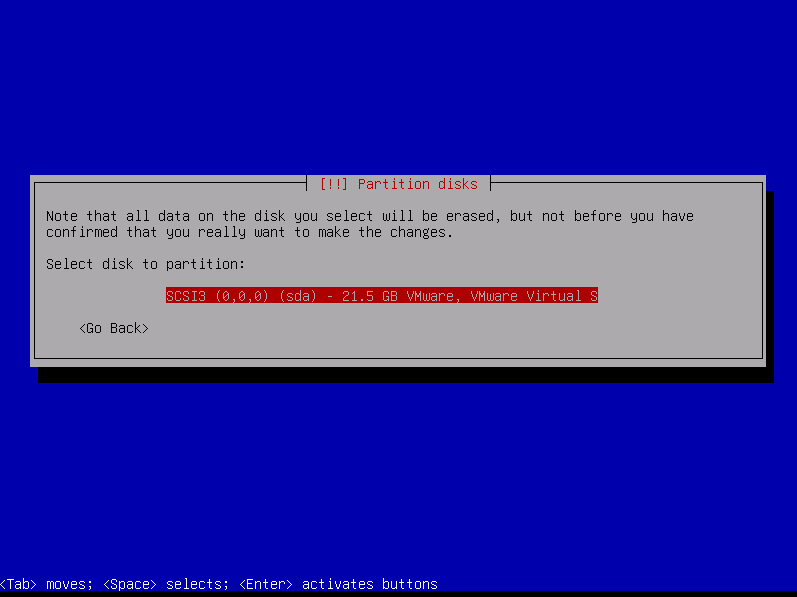
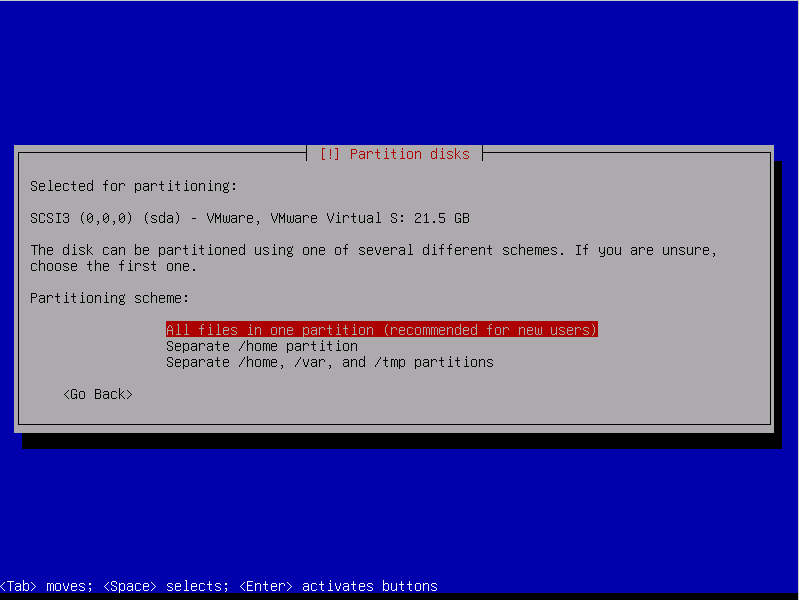
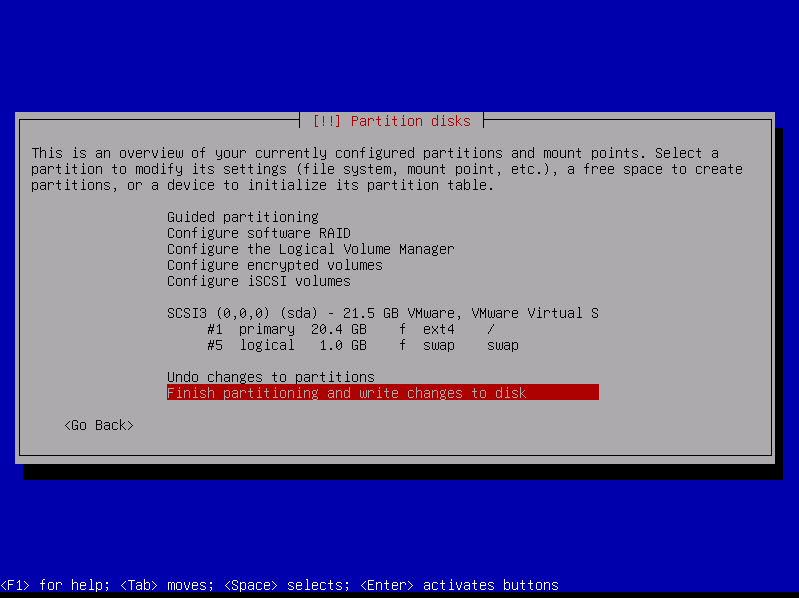
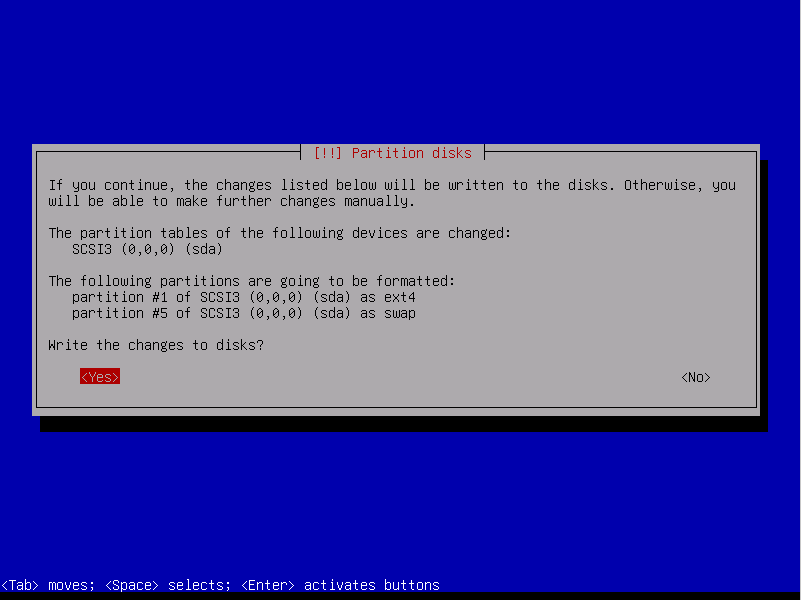
Partition the disk
For the new Linux users: The Linux disk is split up into multiple paths, including the root path "/", a path for user files "/home", for temporary files "/tmp" and more. By using disk partitions, a dedicated file system can be created for each path. The disk partitioning layout can be very simple with just one partition for all paths (using the root path "/") or very complex using many partitions.
In this example I will just use the simple and "guided" partitioning setup, which uses the entire disk (using the root path "/"). This is fine for a personal or a test machine.
Package manager
After installing some base packages, the next step is to configure the APT package manager.
The setup has already included the Debian installation media as package source and asks you whether you want to add an additional media source.
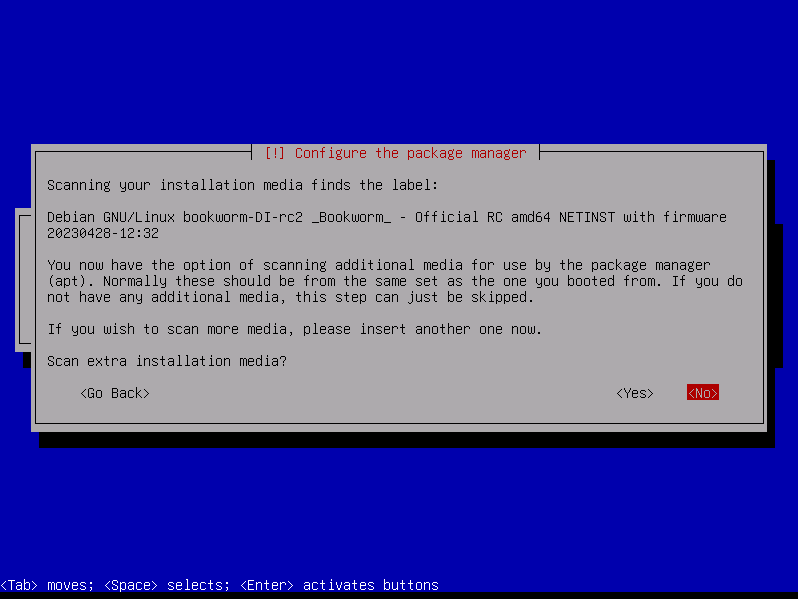
If you have Internet access you can select <NO> here as additional packages will be downloaded from Internet. This is what the next step is about, you can choose a local mirror. In my situation I am choosing a mirror in the same or near my country, Switzerland.


Note: As long as Debian 12 is not officially released (I am installing the Release Candidate 2 here), not all mirrors will have the required packages available. The deb.debian.org mirror already contains the Bookworm packages.
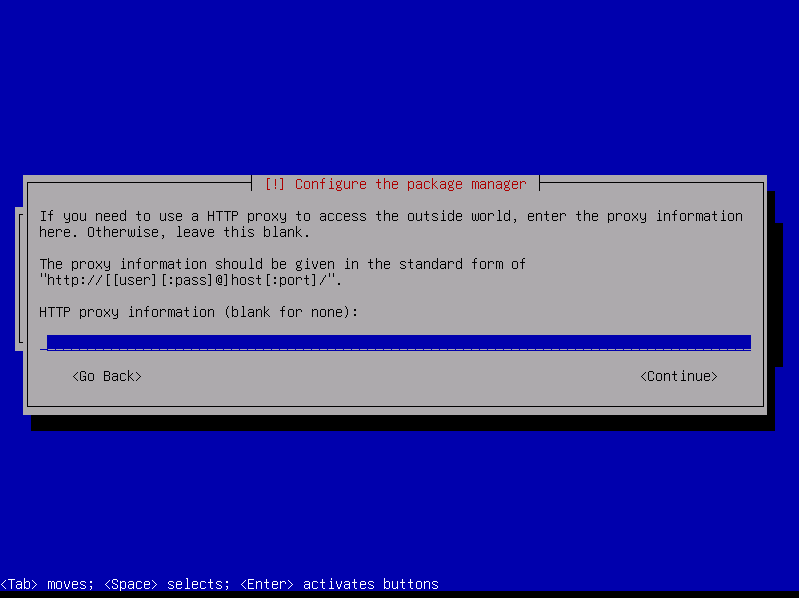
If you don't have direct Internet access but need to use an outgoing HTTP Proxy, this is the moment to configure it. If you need to use a HTTP Proxy, enter it, otherwise leave this input field blank and continue. Note: The HTTP Proxy is only entered for the APT package manager, not for the whole system.

The installer will then configure the APT package manager with the chosen settings, scan the mirror for updates and install the base packages.
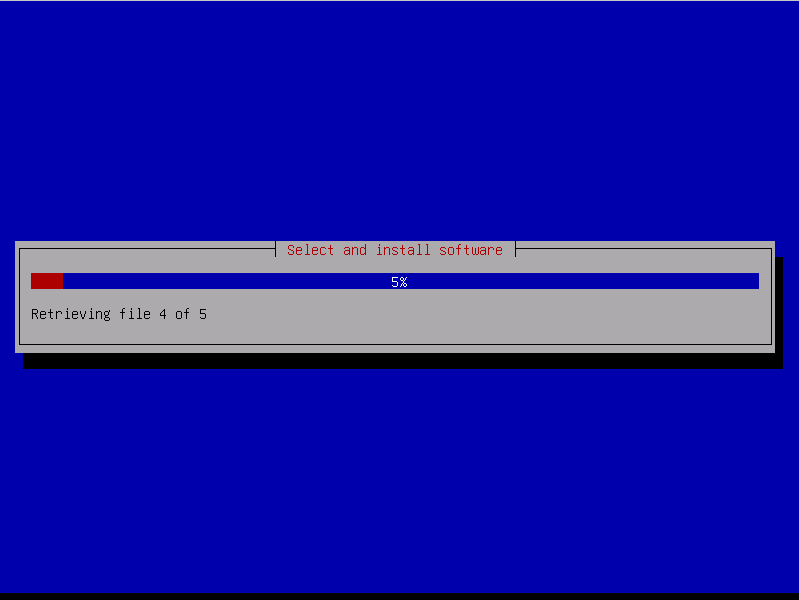
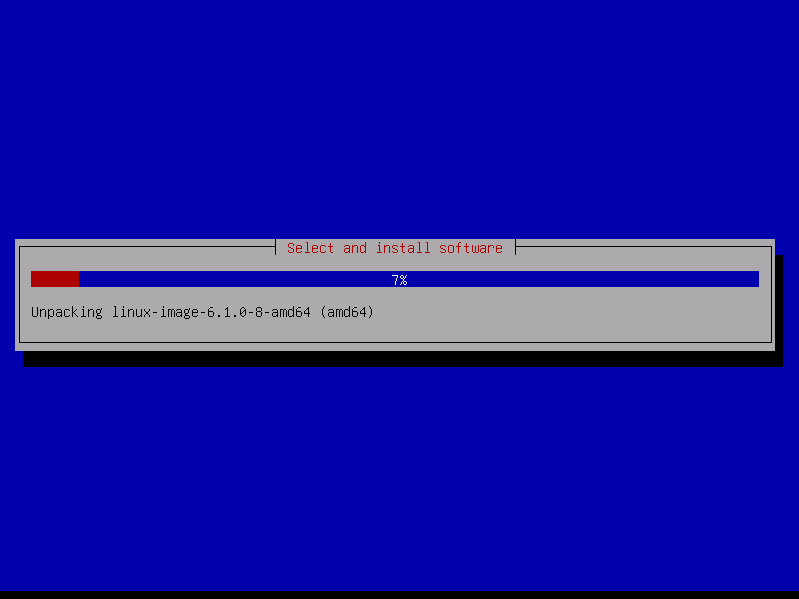
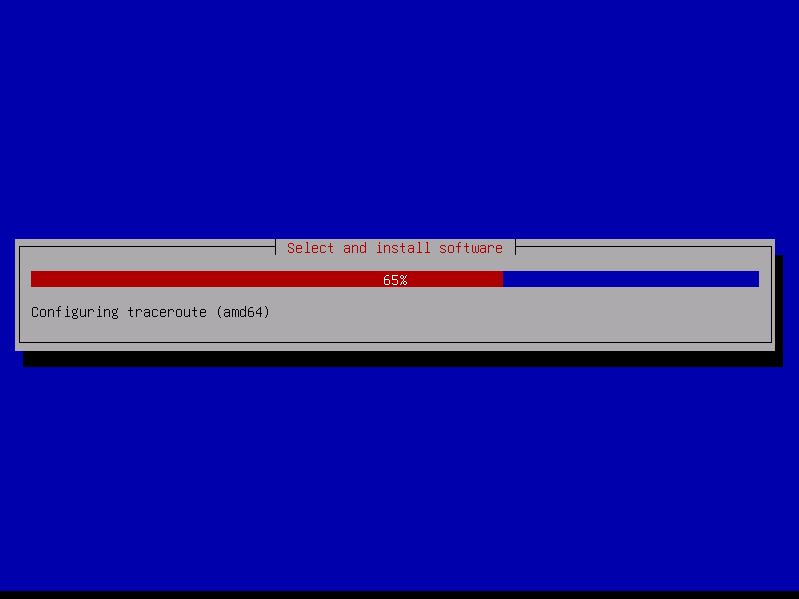
Install additional packages
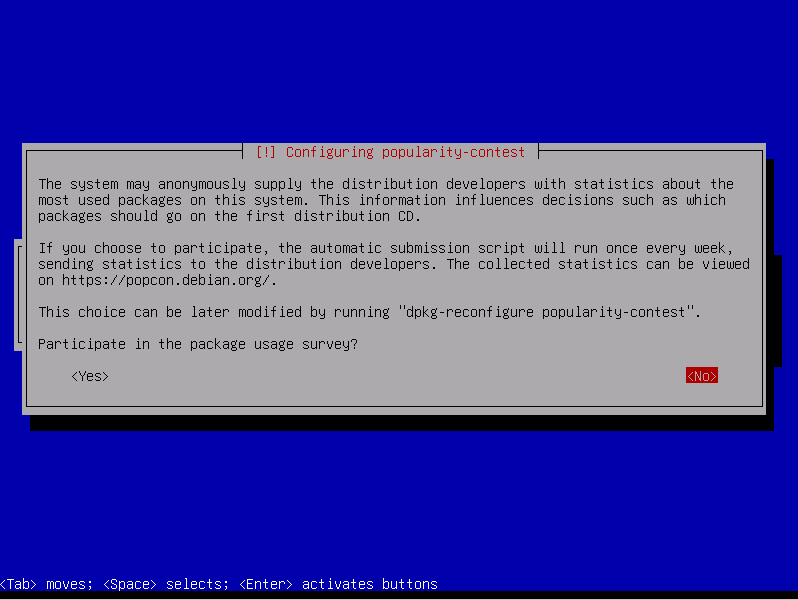
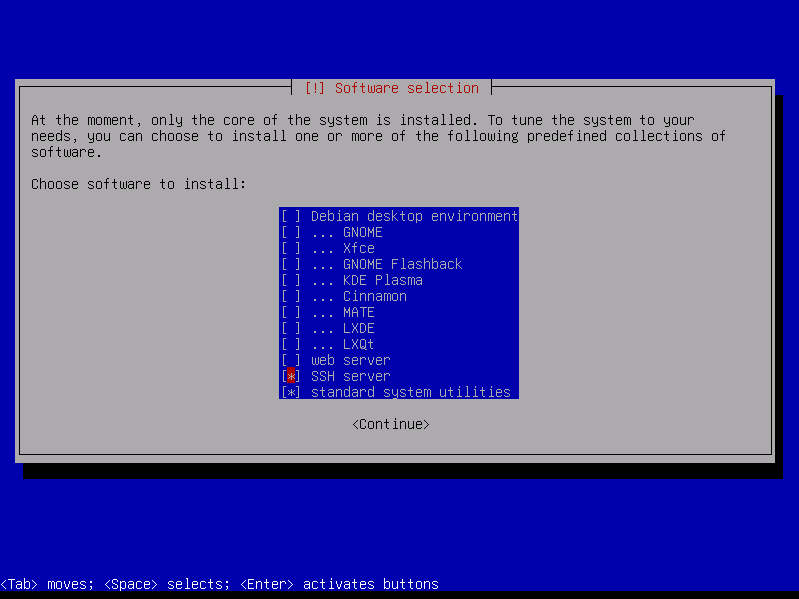
The installer asks whether or not to contribute in the "Popularity Contest". These are anonymous statistics sent to Debian which packages are installed. It's up to you to select Yes or No. In the next steps you can choose which additional packages to install. A wise choice is usually to install the SSH server, so you can connect to your new Debian machine after the installation is completed.
GRUB bootloader
The GRUB boot loader is installed at the end of the installation. The boot loader writes meta information into the first blocks of the hard or solid state drive, where to find the Linux kernel to start the Debian OS. It's therefore absolutely mandatory or your system will not start after the installation. Definitely chose <YES> here. The installer will attempt to auto-discover your primary drive. Make sure you select the correct drive in case there are multiple drives detected.
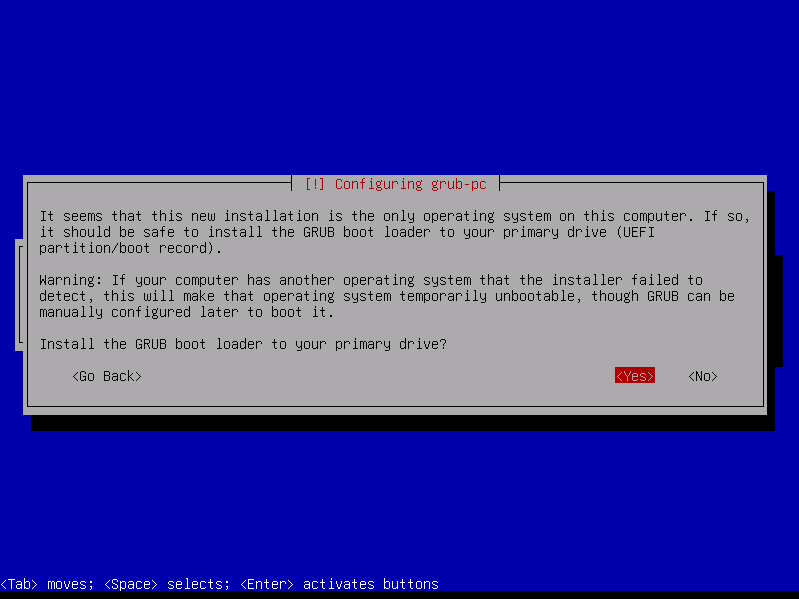

Hint: Usually it's the drive /dev/sda, /dev/vda or similar.
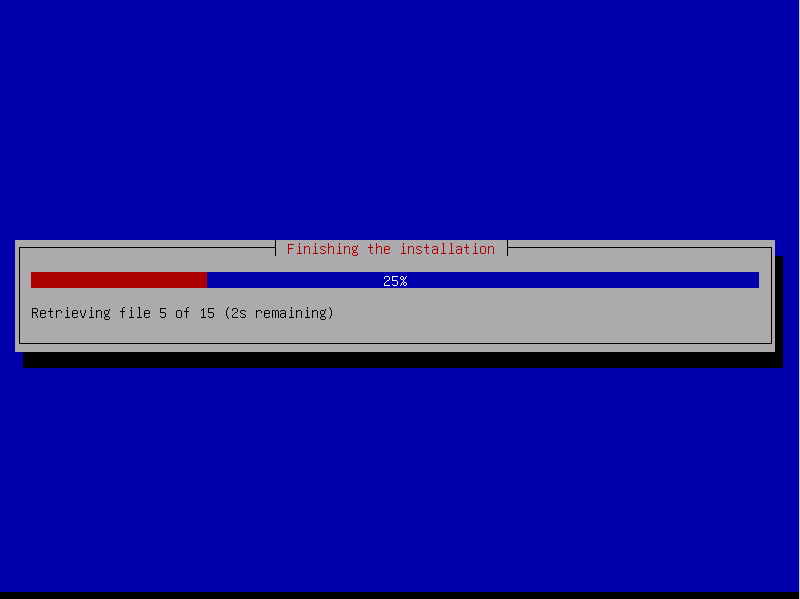
Finishing the installation
After installing the final packages, the installation is completed.
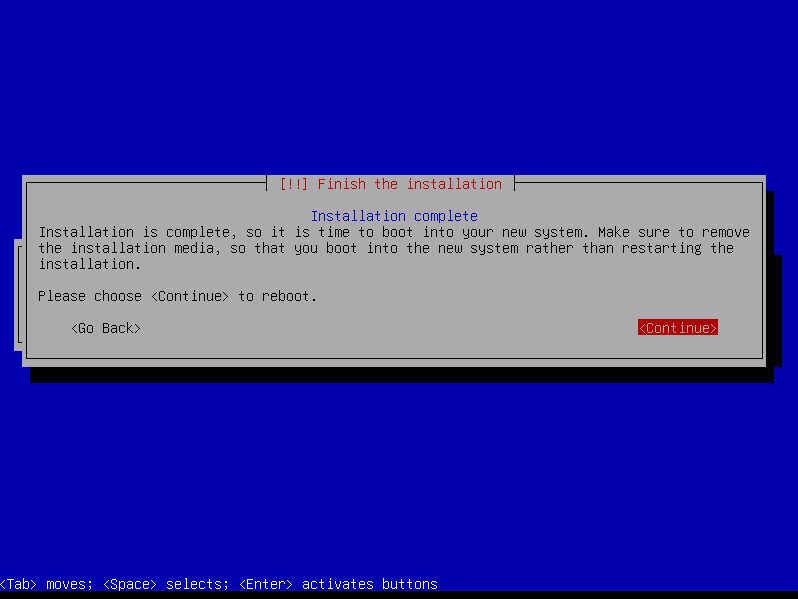
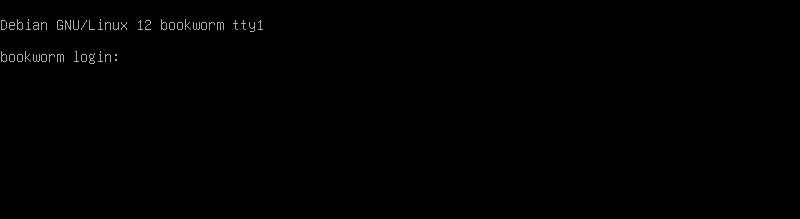
The system will then reboot and you should soon see the terminal login or the graphical login screen (if you selected the Debian desktop environment during the software selection).
Most important software and their versions
The following list serves as overview of the most widely used and installed software on Debian and their versions (served from the official Debian repositories).
- Linux Kernel (linux-image): 6.1.0
- Grub2: 2.06-12
- OpenSSH: 9.2p1
- Apache2 (HTTPD): 2.4.57
- Nginx: 1.22.1
- Lighttpd: 1.4.69
- PHP: 8.2
- MariaDB: 10.11.2
- PostgreSQL: 15+248
- Docker (docker.io): 20.10.24
- Node.JS (nodejs): 18.13.0
- NPM: 9.2.0
- GCC: 12.2.0
- Clang: 14.0
- Redis: 7.0.11
- ActiveMQ: 5.17.2
- Ruby: 3.1
- Golang: 1.19
- Python: 3.11.2
- Perl: 5.36
- Cinnamon (Desktop): 5.6.8
- GNOME (Desktop): 43.2
- XFCE (Desktop): 4.18
- Mate (Desktop): 1.26.0


